
Window Flashing & Scribe Repair in Botany
A customer contacted Handyman Botany after rainwater began entering an extension. Inspection of the windows revealed missing exterior flashing, no proper scribe detail and deteriorated sealant around a vulnerable window junction.
Rainwater Was Getting Into the Extension
The customer knew water was entering the room during rain, but the entry point was not obvious from inside. The first task was to inspect the exterior windows and determine how water was reaching the building.
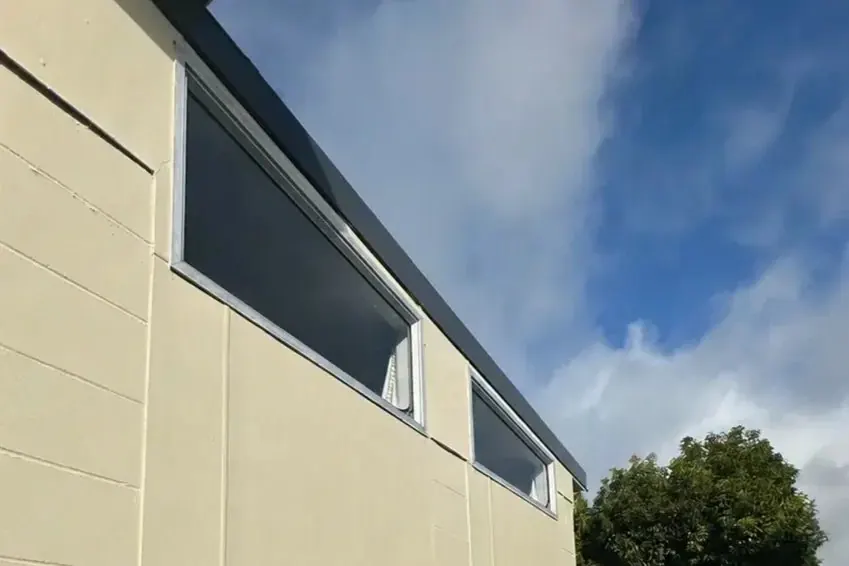
Exterior Area Where the Leak Was Reported
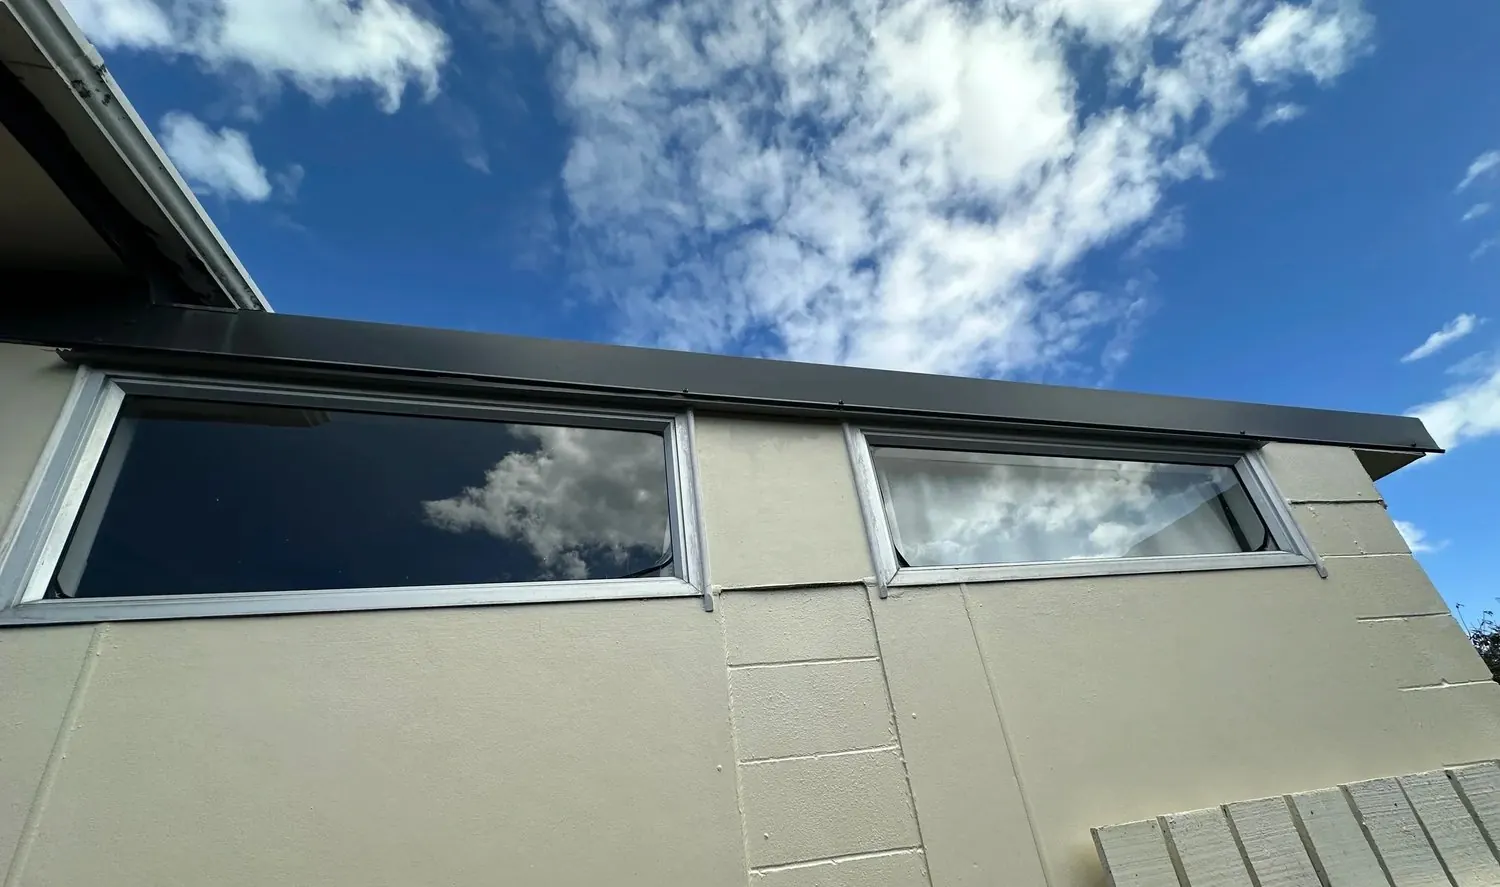
The customer reported water entering this extension during wet weather. The exterior window installation and surrounding wall junctions were inspected to find the likely path of the water.
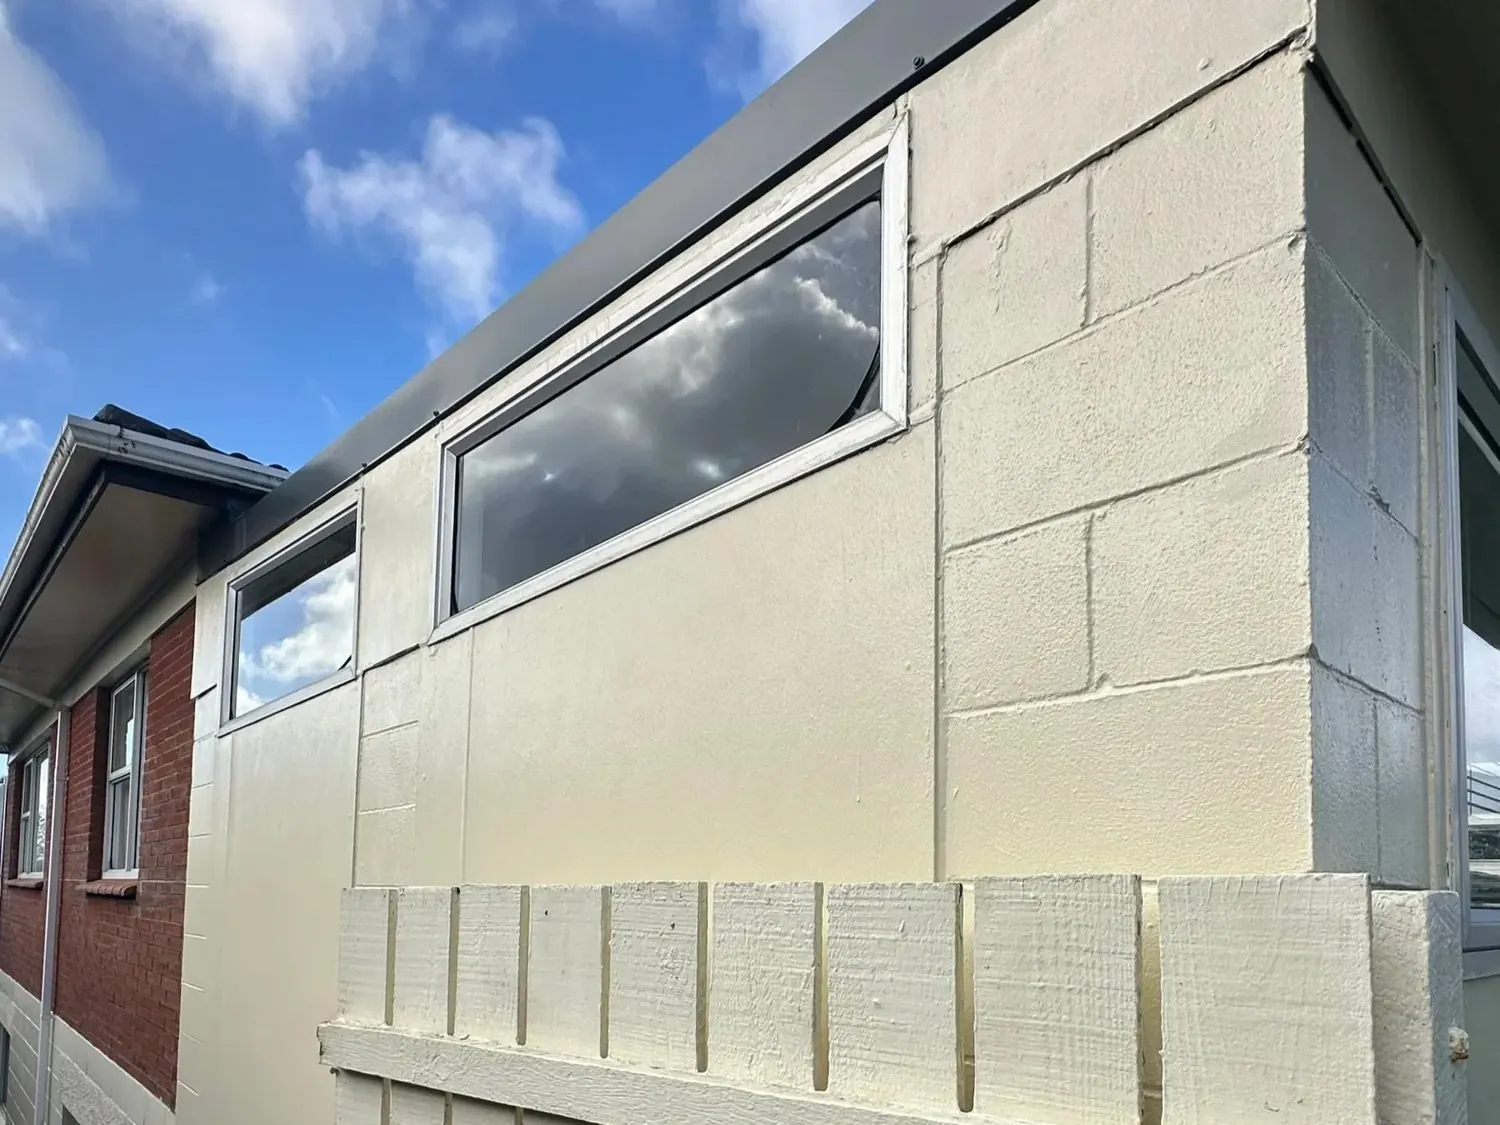
Missing Flashing at the Window Junction
Inspection showed that the exterior window junction did not have the flashing and scribe detail needed to provide an additional line of weather protection. The junction was relying heavily on sealant.
The Window Junction Was Relying Too Heavily on Silicone
A closer inspection showed no visible exterior flashing protecting the vulnerable junction above and around the window in the area being investigated.
Without that additional weather-management detail, silicone sealant had effectively become the main barrier between rainwater and the opening behind the exterior finish.
The existing silicone had deteriorated and cracked, creating small openings where water could reach the junction behind it.
During rain, water could enter these gaps instead of being directed safely away from the window. Simply applying another bead of silicone would not address the underlying weakness in the existing detail.
Water Entry
Rainwater was entering the extension during wet weather, prompting investigation of the exterior window junction.
Missing Flashing
No visible exterior flashing was present at the inspected junction to help direct water away.
Cracked Sealant
Existing silicone had deteriorated and opened up, creating a possible path for rainwater to enter.
The Weak Point Became Clear on Closer Inspection
Looking closely at the window junction showed why the old sealant was no longer keeping the water out.
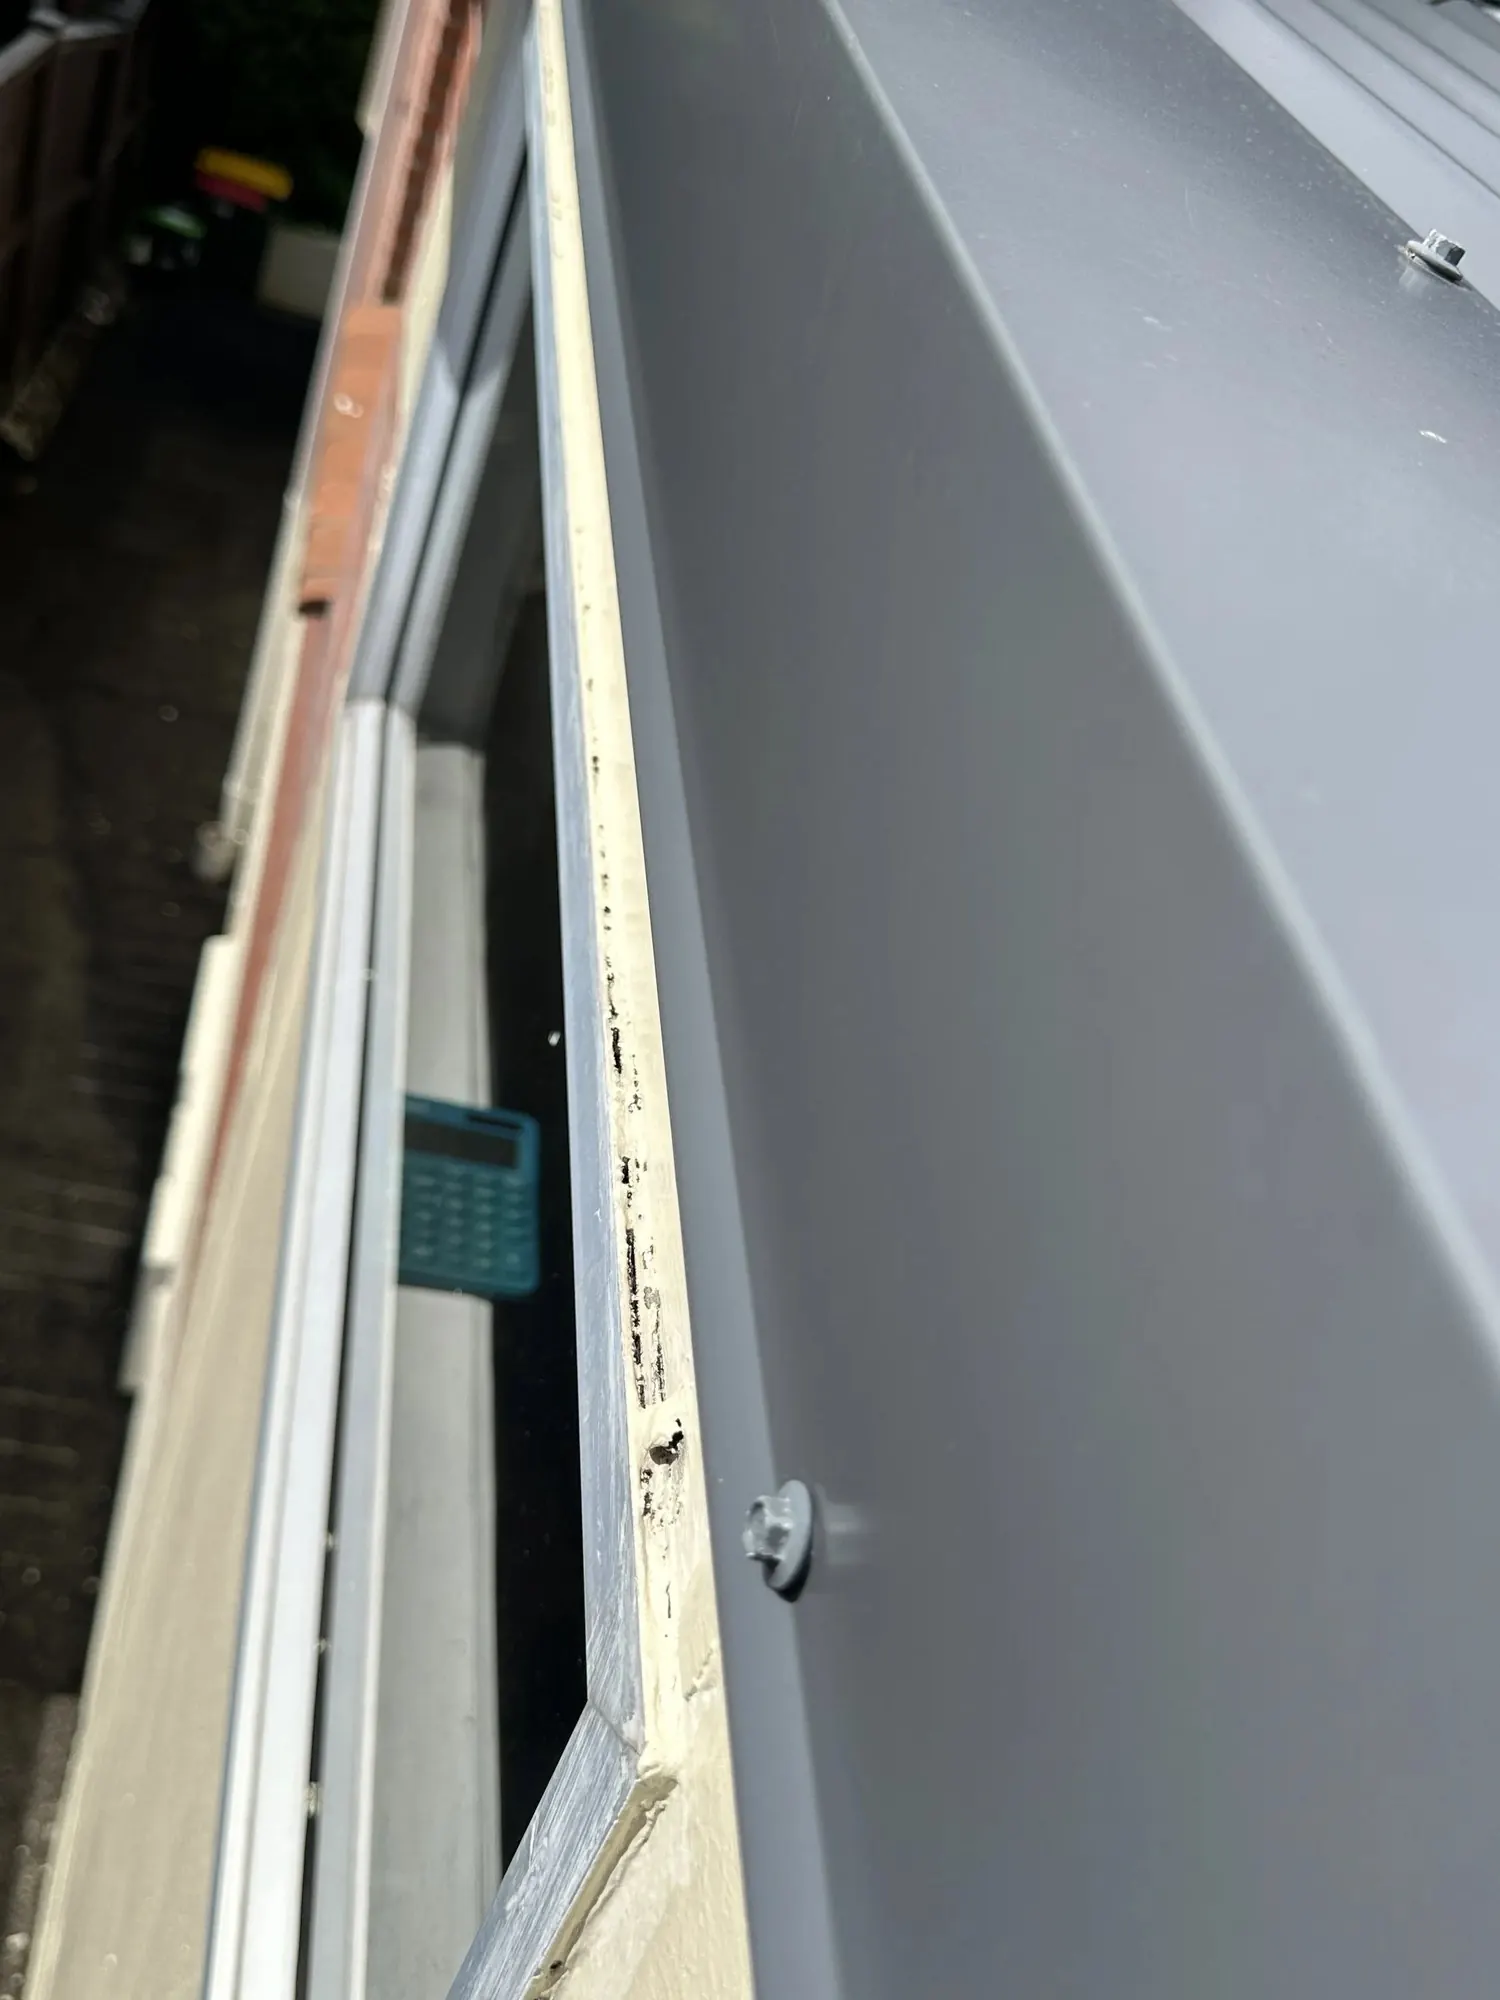
Cracked Sealant and Open Junction
The close-up shows deterioration in the existing sealant around the window junction. Once the silicone opened up, there was no effective visible flashing detail behind it to provide the same level of secondary protection from rainwater.
Installing the New Flashing
The repair was approached by improving the physical weather-management detail around the window rather than simply covering the existing joint with more silicone.
New flashing was fitted at the window junction. Its role is to help intercept water reaching this area and direct it away from the opening rather than allowing the entire joint to depend on surface sealant alone.
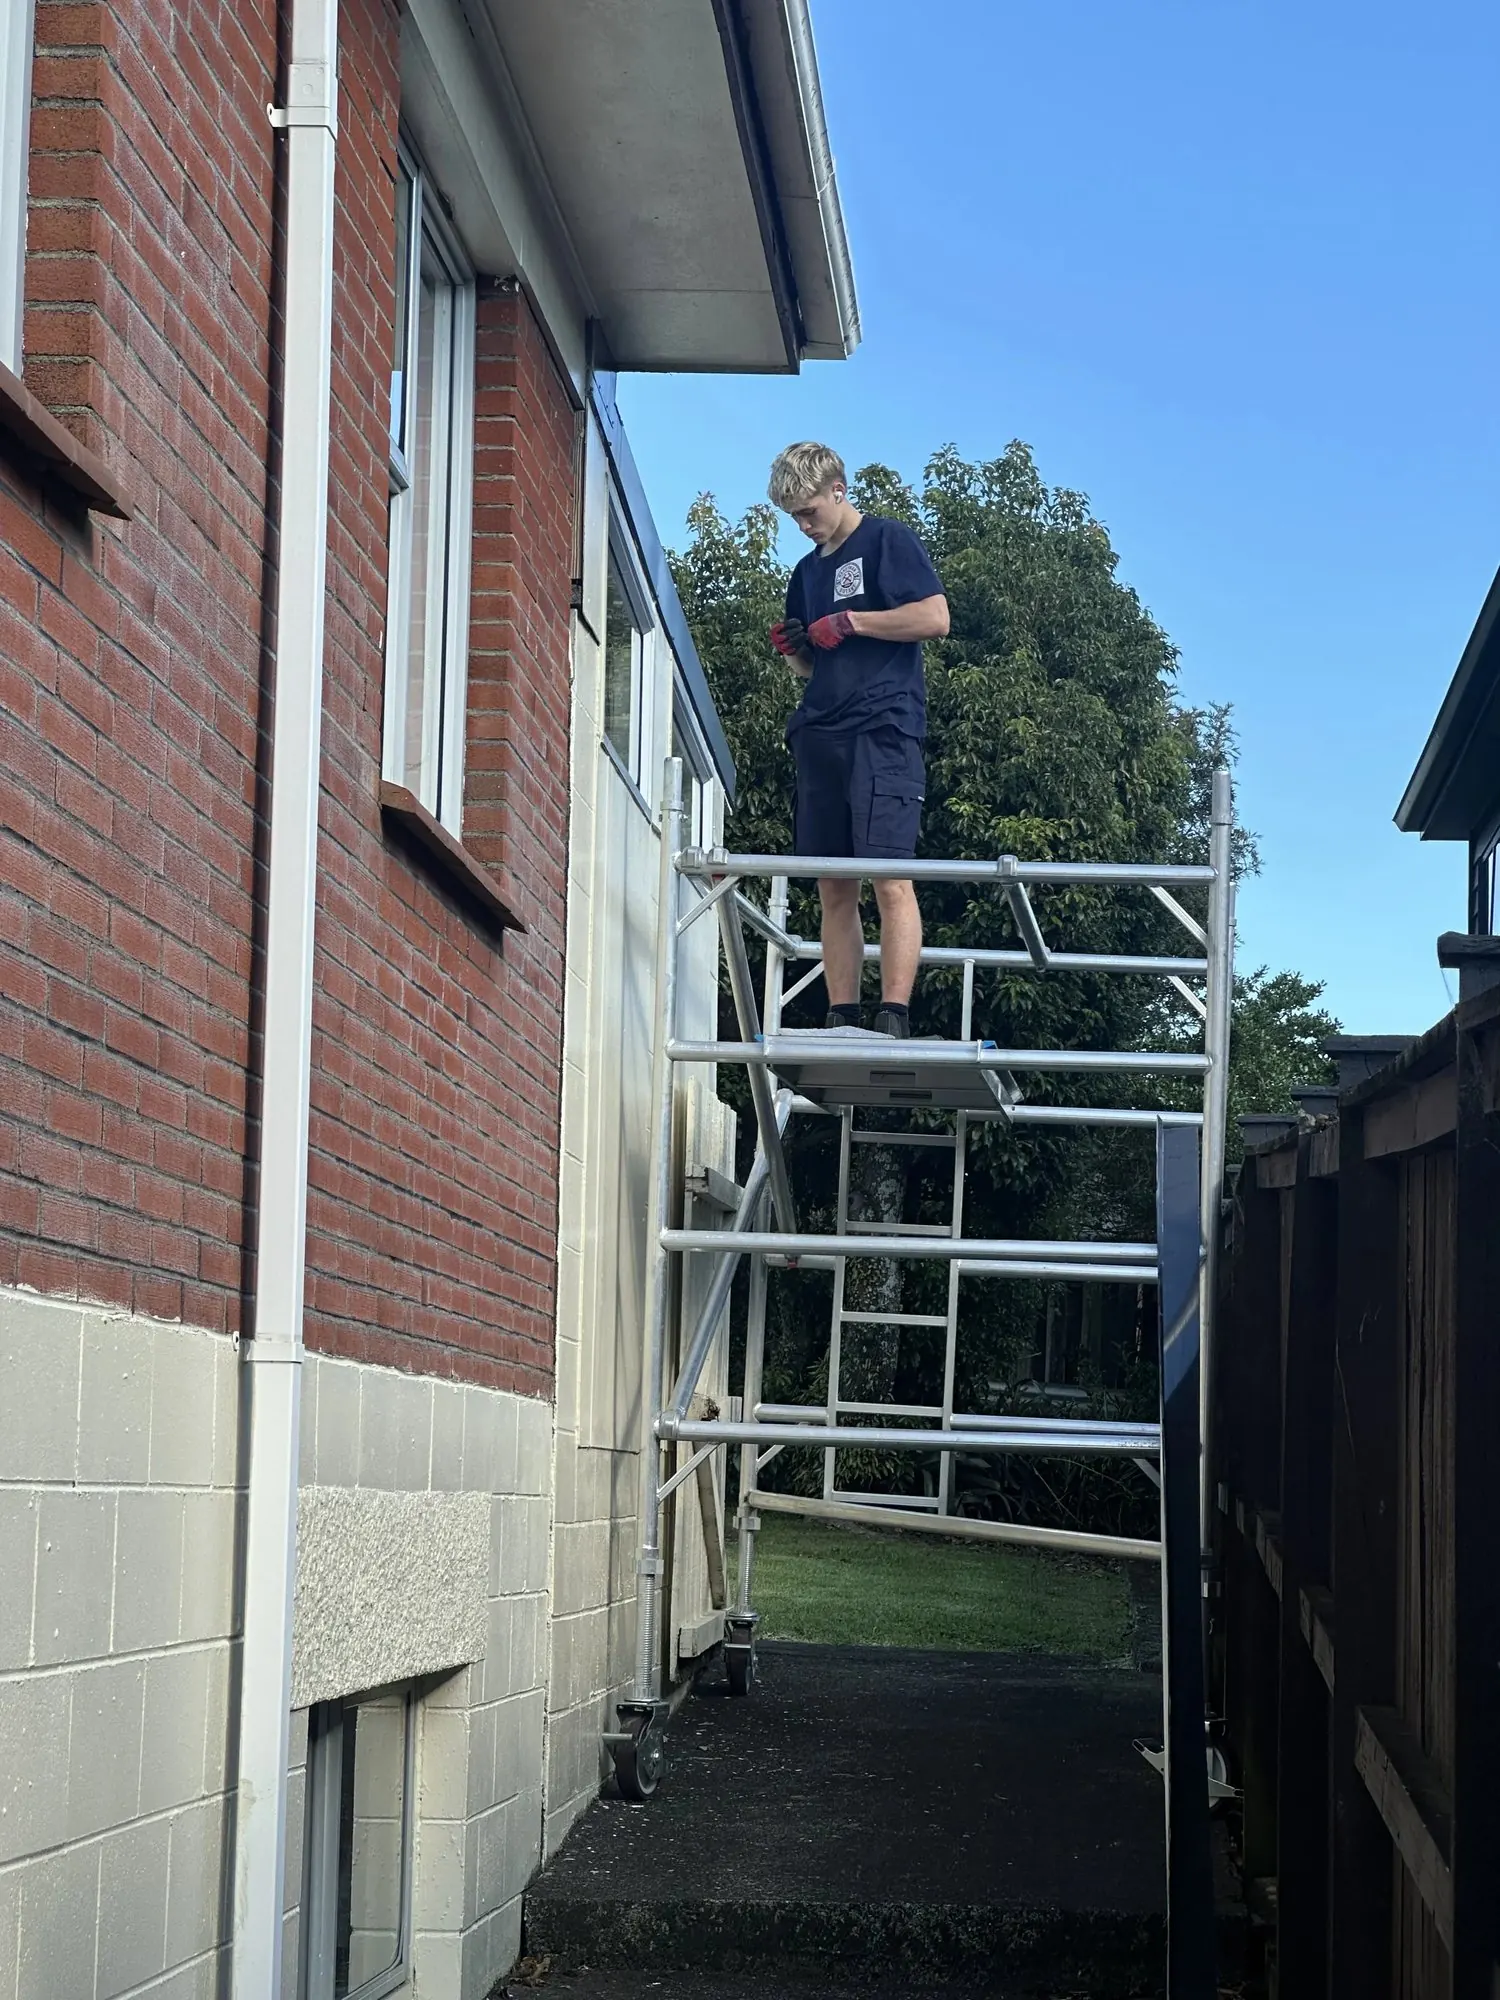
Flashing Installation
New flashing was positioned and fitted around the existing window junction to create an additional protective detail and help direct rainwater away from the vulnerable opening.
Fabricating Custom Scribes to Fit the Existing Windows
The existing exterior detail meant that standard trim pieces were not simply a direct fit. The scribes therefore had to be measured and fabricated specifically for the actual dimensions and profiles around the windows.
This allowed the new trim to follow the existing junction more closely and work together with the flashing underneath while creating a cleaner finished appearance.
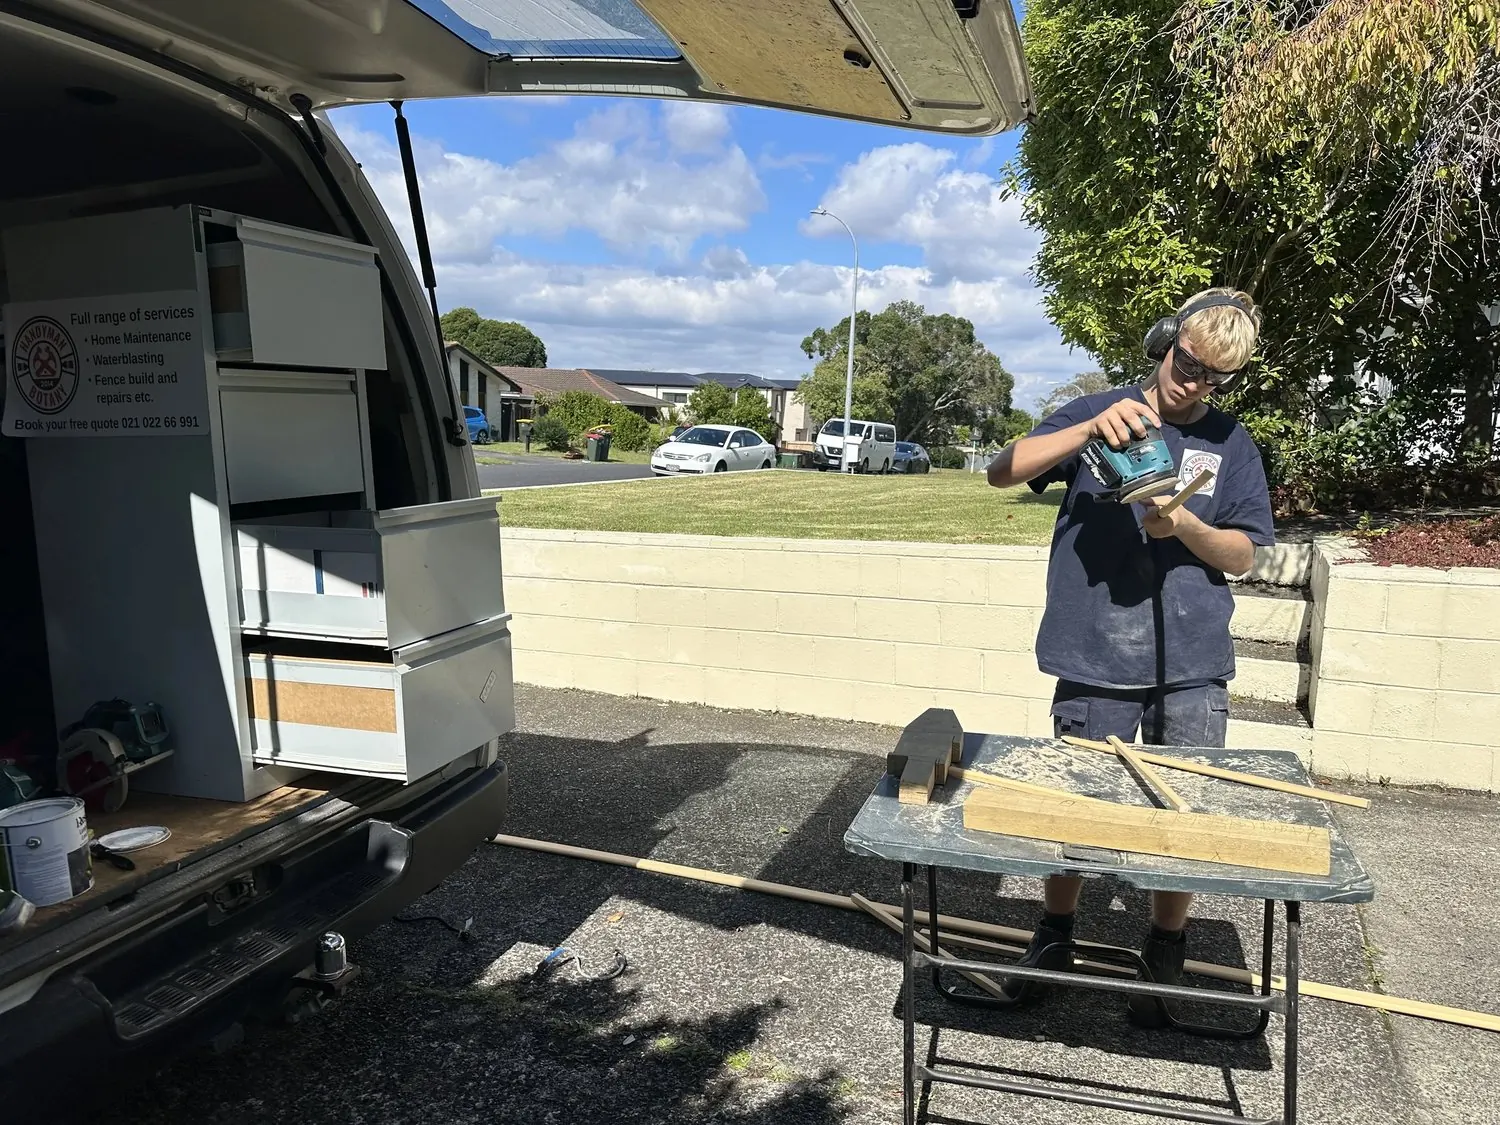
Custom Scribe Fabrication
The scribe pieces were measured, cut and fabricated specifically for this installation so they could follow the existing profile rather than forcing a standard piece of trim into an irregular junction.
Installing the New Scribes Over the Flashing
With the flashing in place and the custom pieces prepared, the new exterior scribe detail could be fitted around the window openings.
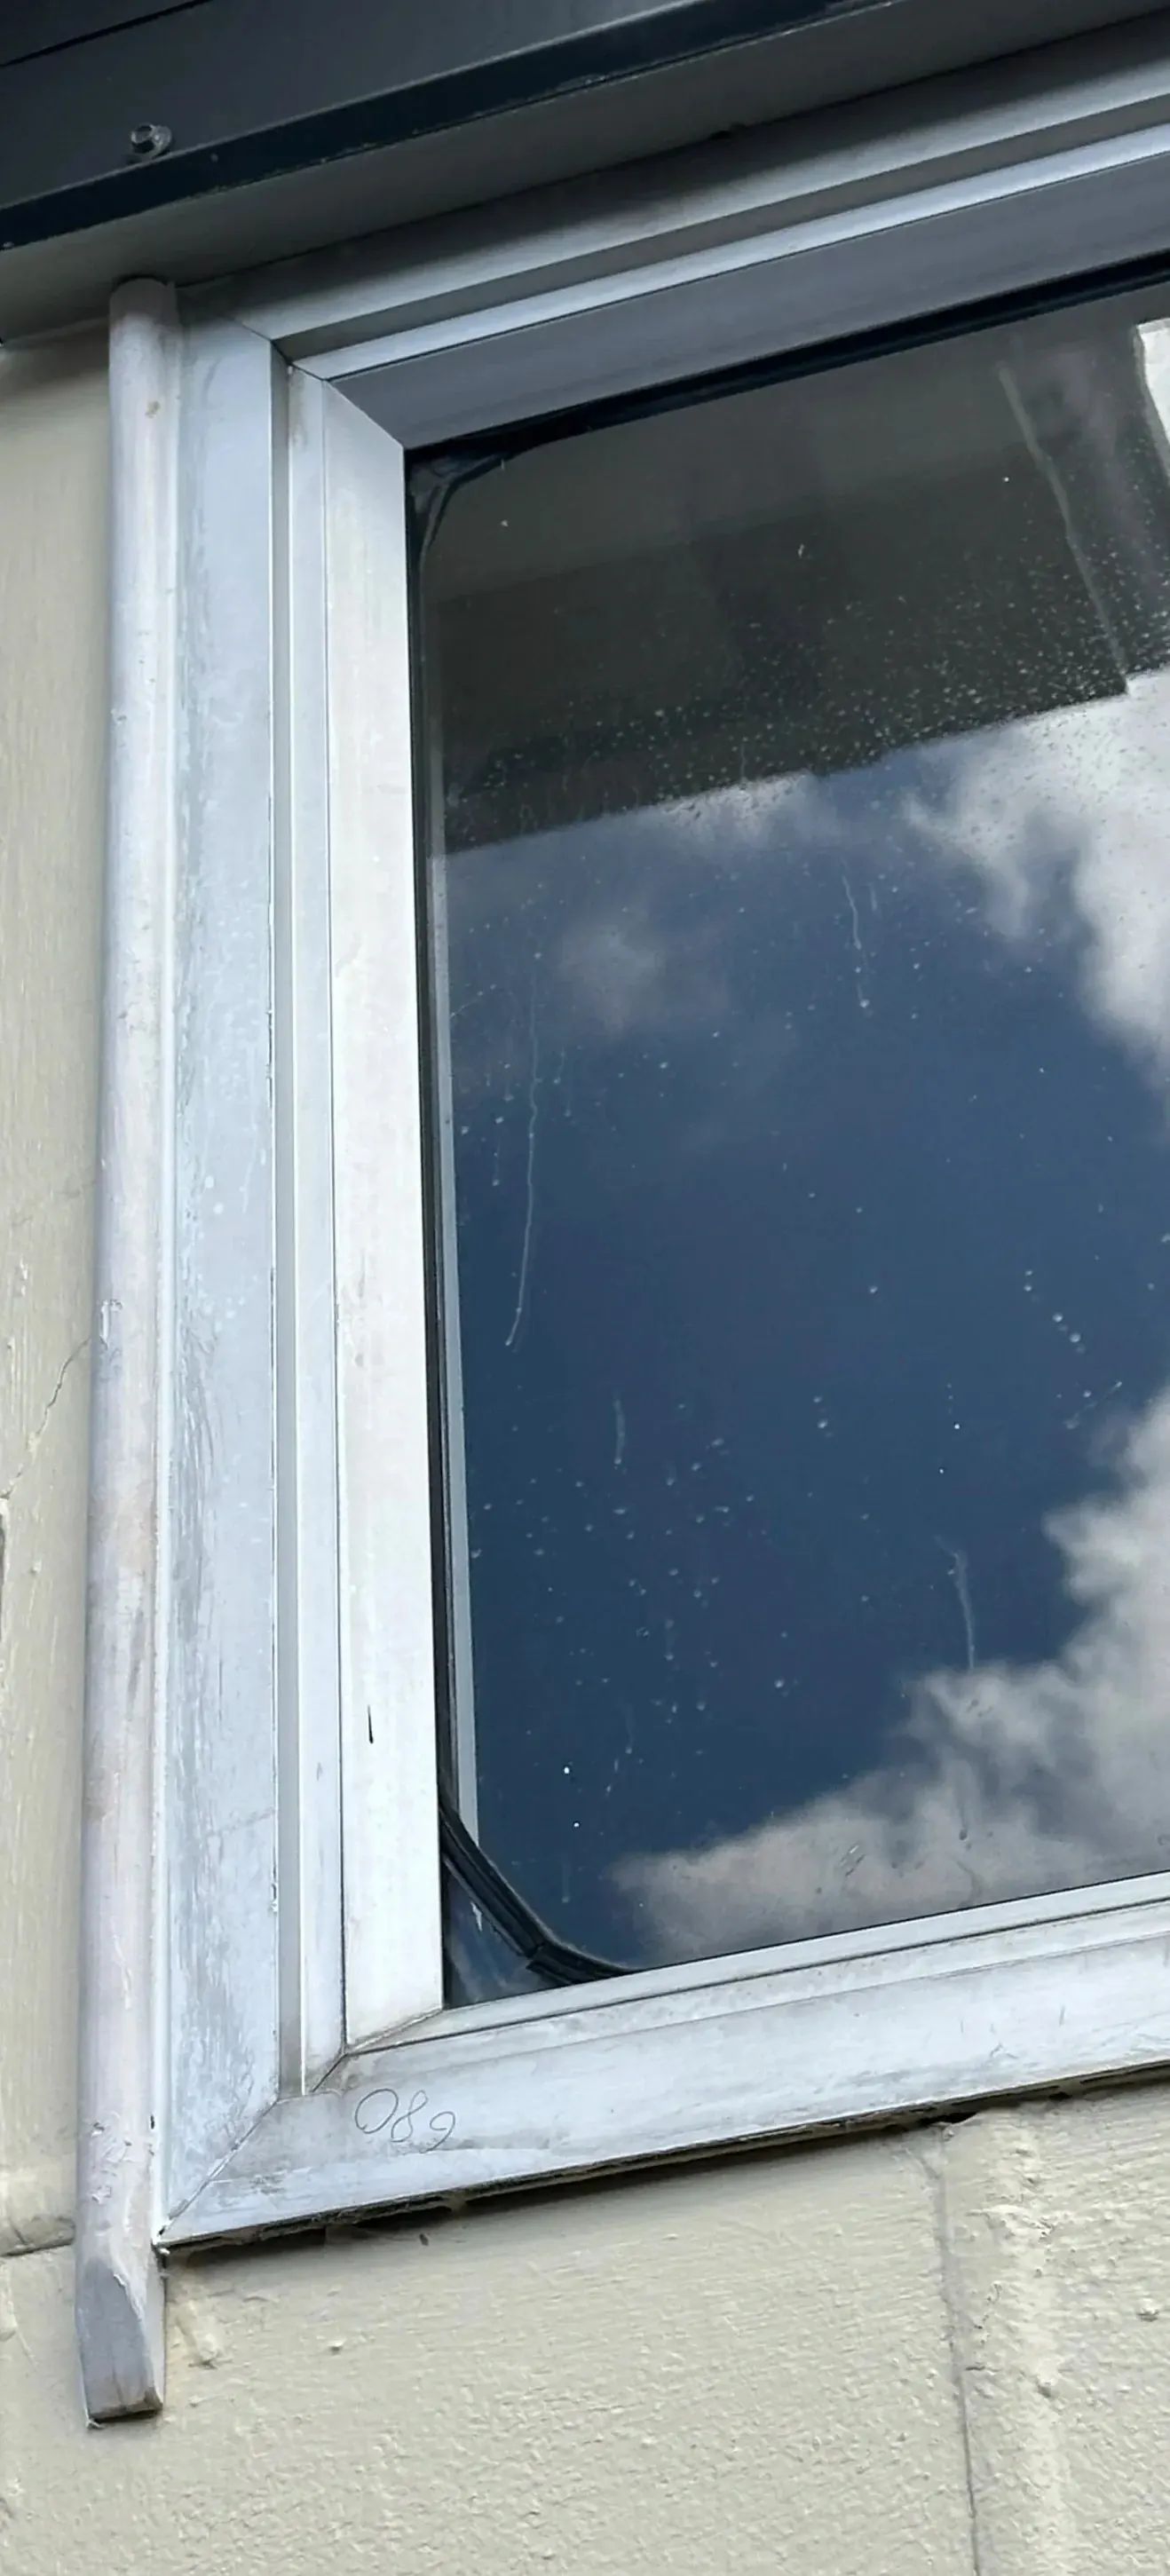
Scribe and Flashing Working Together
The custom scribe was fitted over the new flashing, creating a more complete exterior window detail and a cleaner transition between the window and surrounding exterior finish.
Preparing the New Scribes for Final Sealing
Once the flashing and custom scribes were fitted, the new junctions were checked and prepared before the final sealing work.
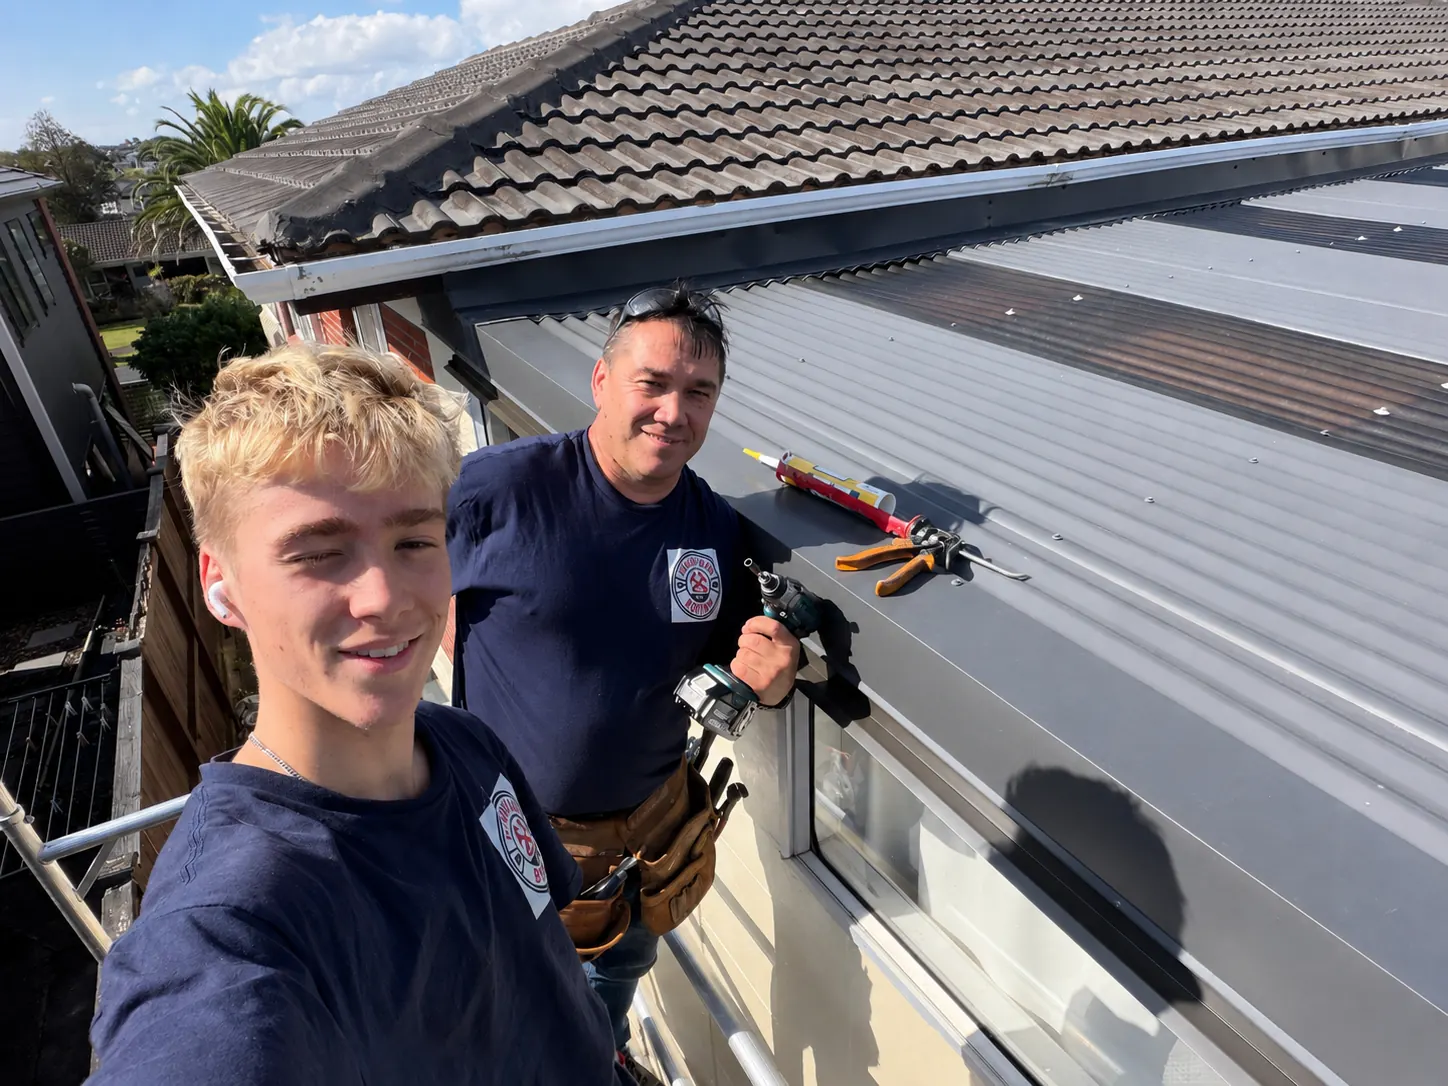
Final Preparation Before Sealing
At this stage the flashing and custom-made scribes had already been fitted. The junctions were being checked and prepared before sealant was applied around the appropriate edges to complete the exterior weatherproofing detail.
Final Window Flashing & Scribe Detail
After fitting, preparation and final sealing, the repaired window junction had a much more complete exterior weatherproofing detail.
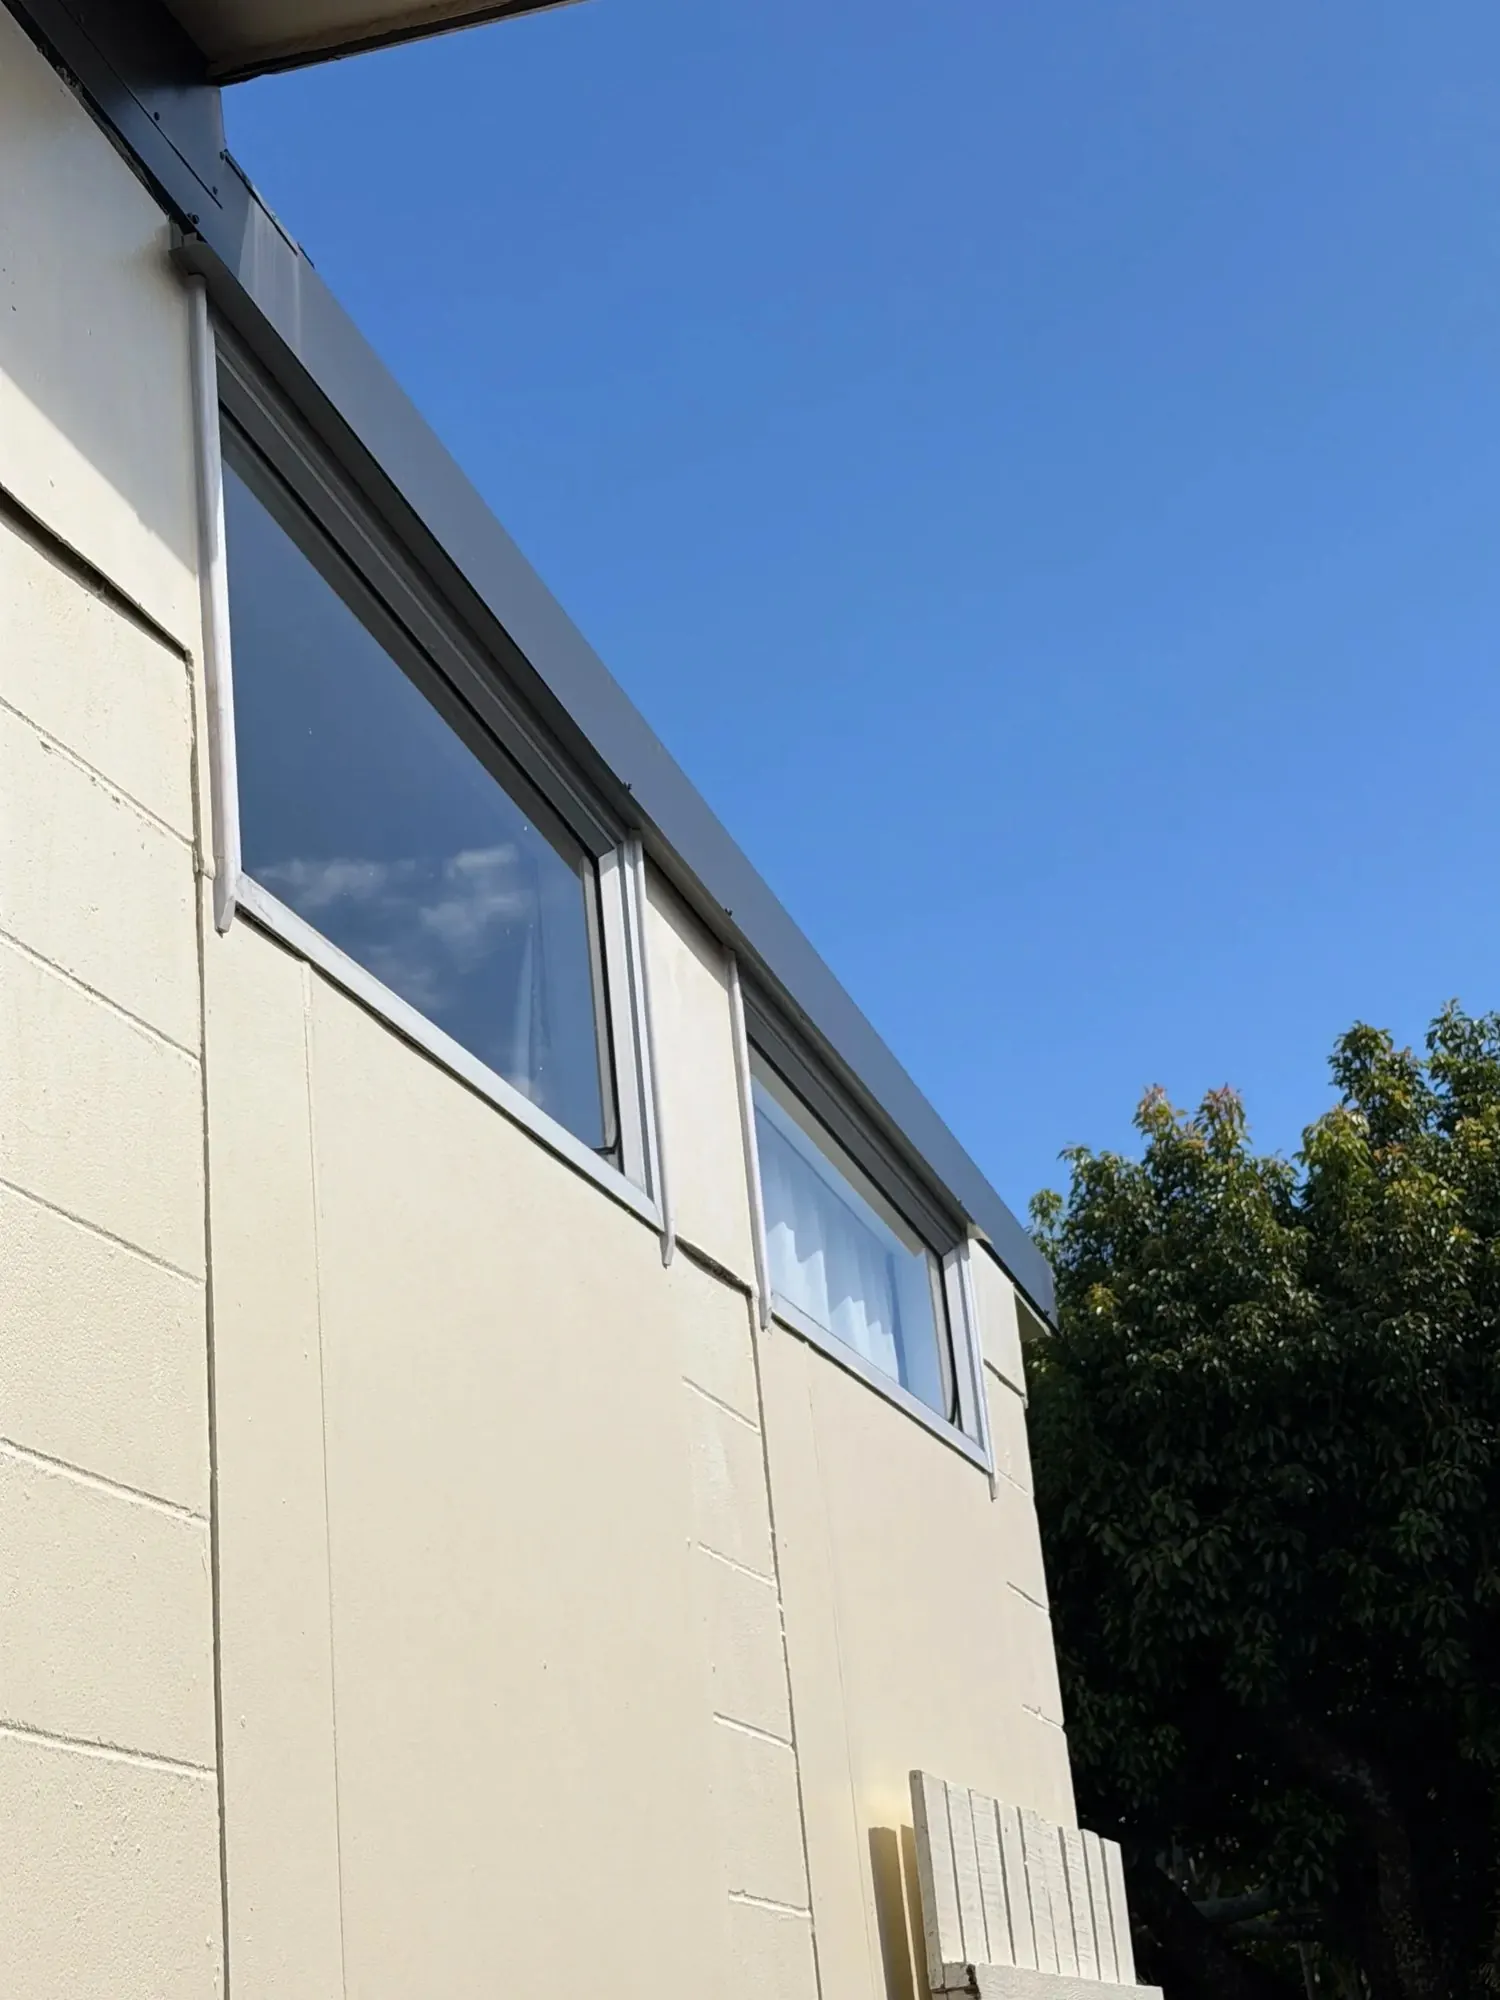
Completed Window Repair
The completed installation now incorporates new flashing, fitted scribes and sealed exterior junctions rather than relying on the original deteriorated sealant-only detail.
Finished Detail — Close Up
The close-up shows how the custom scribe follows the window profile while the new flashing forms part of the repaired exterior junction underneath.
From a Sealant-Dependent Joint to a More Complete Window Detail
What initially appeared to the customer simply as water entering the extension was traced back to the way the exterior window junction had been detailed.
With no visible flashing at the inspected junction and deteriorated silicone beginning to crack, rainwater had an opportunity to reach the openings behind the exterior finish.
Instead of repeatedly sealing over the same vulnerable joint, new flashing was installed, custom scribes were fabricated and fitted, and the new exterior junctions were prepared and sealed as part of the repair.
Looking for Similar Repair Work?
Explore General Repairs, local Botany handyman services and more completed Handyman Botany projects.