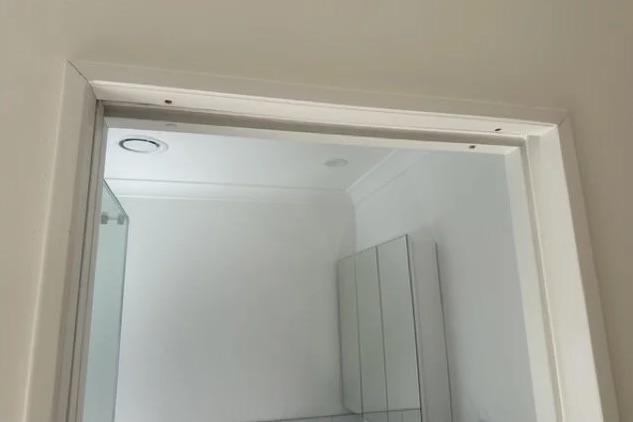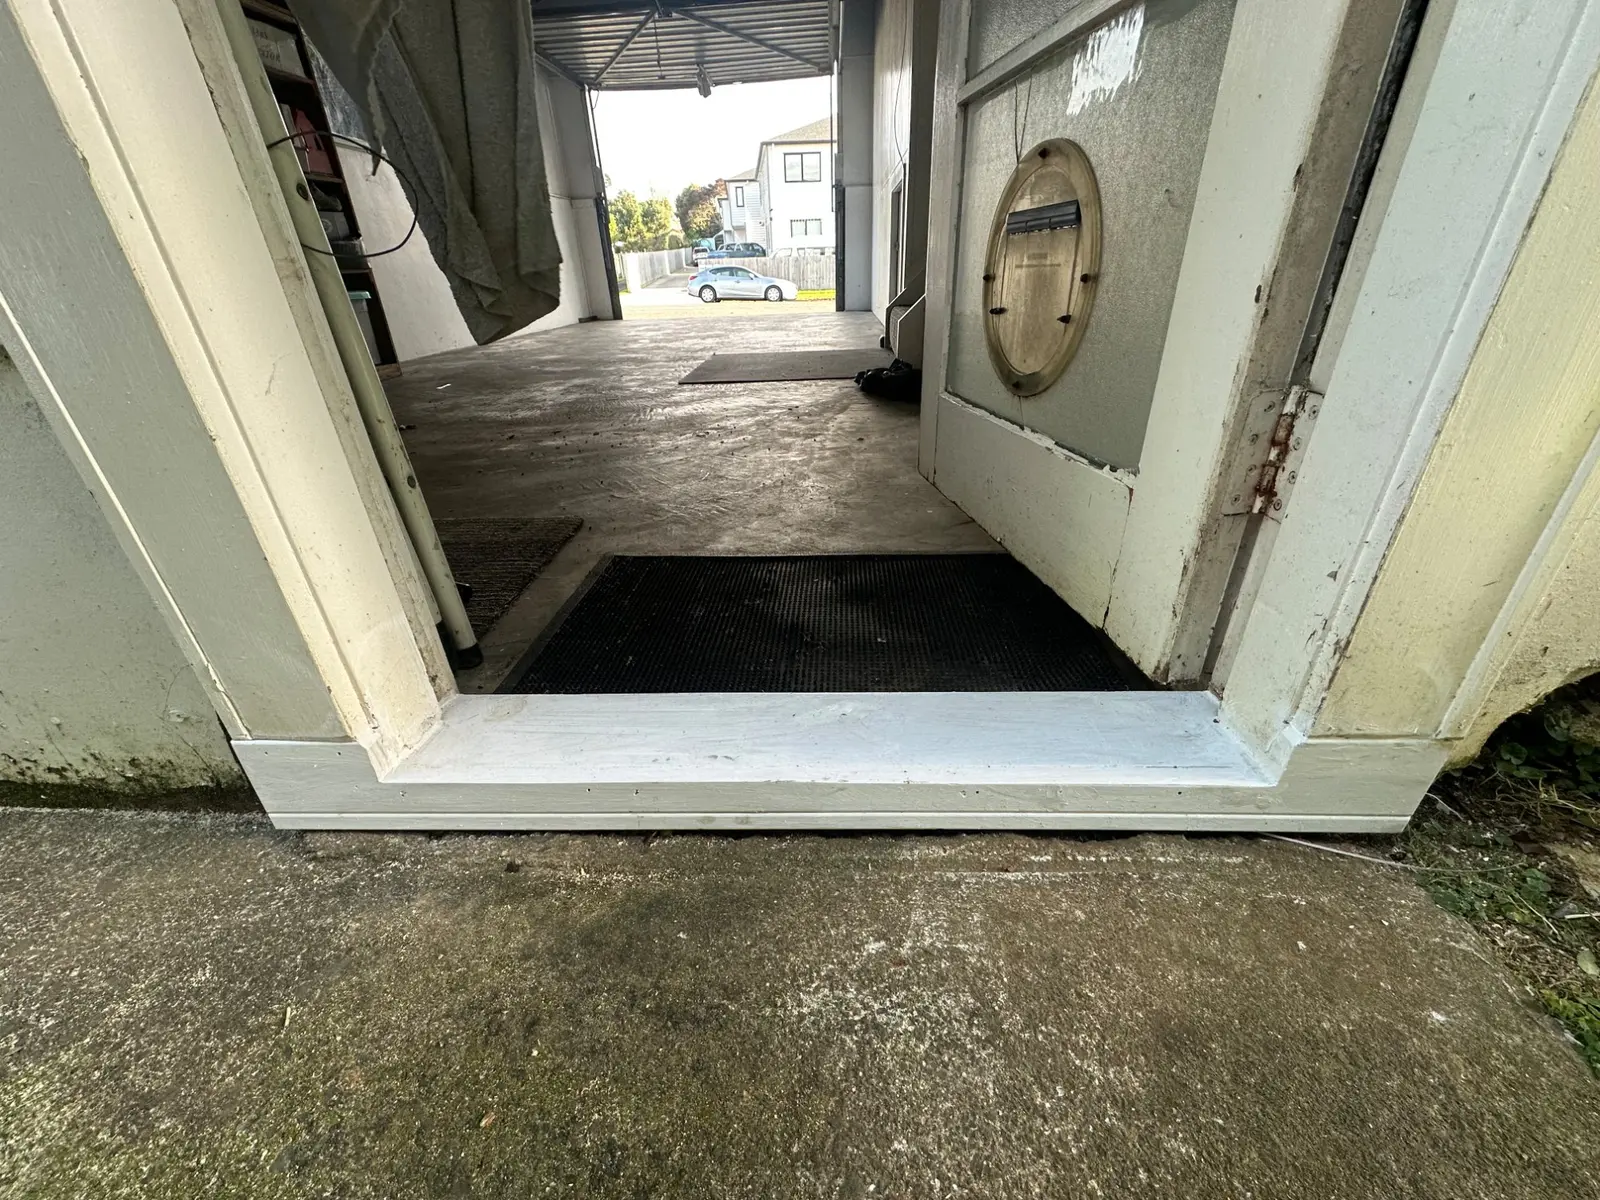
Garage Door Jamb & Architrave Replacement
Rotten garage door jambs and moisture-damaged MDF architraves replaced with carefully fitted timber components, protected framing and sealed joints ready for painting.
Severe Timber Rot Around the Garage Opening
The side faces of the garage door jamb had deteriorated, while the internal MDF architraves had swollen and rotted after contacting the concrete and absorbing moisture.
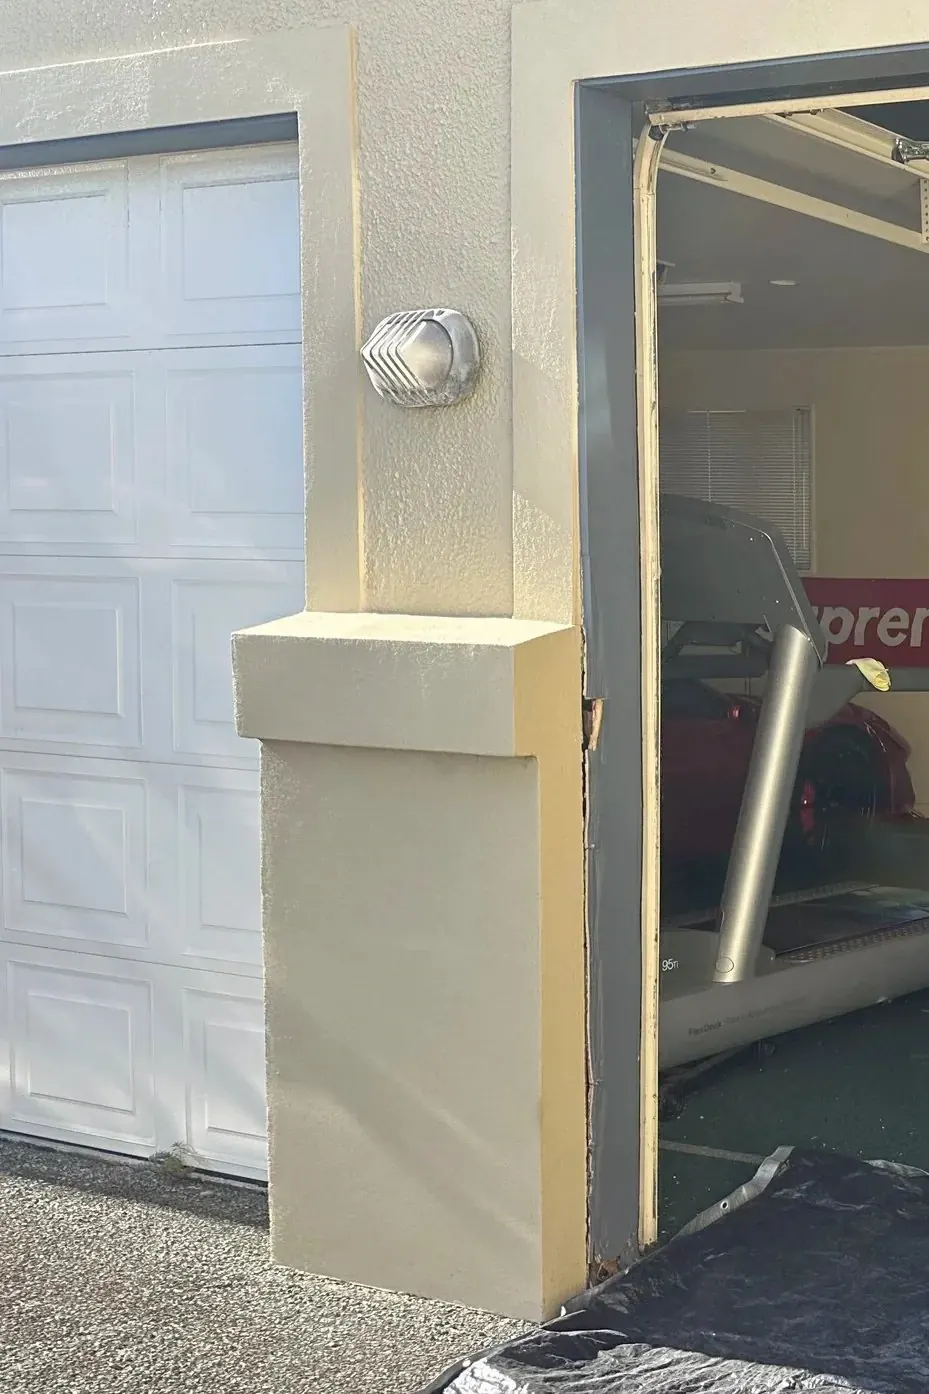 Before
Damaged Garage Opening
Visible deterioration along the garage door jamb before removal and replacement.
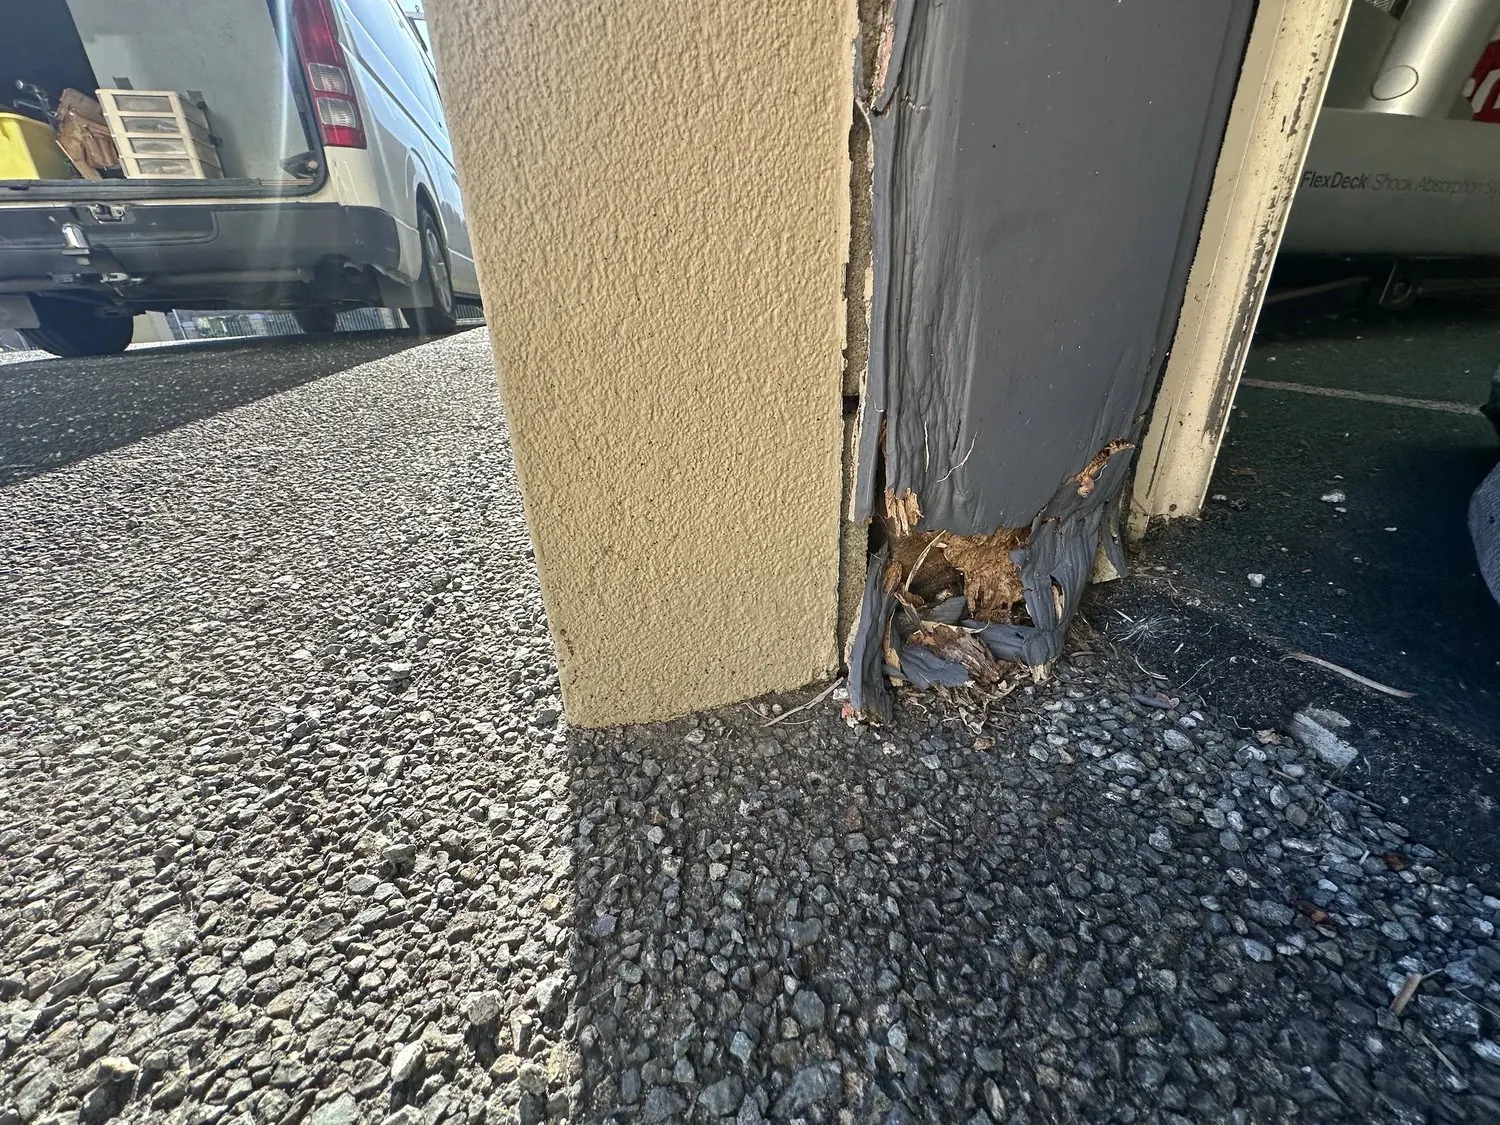 Severe Rot
Rot at the Bottom
The lower jamb had broken down after prolonged exposure to moisture.
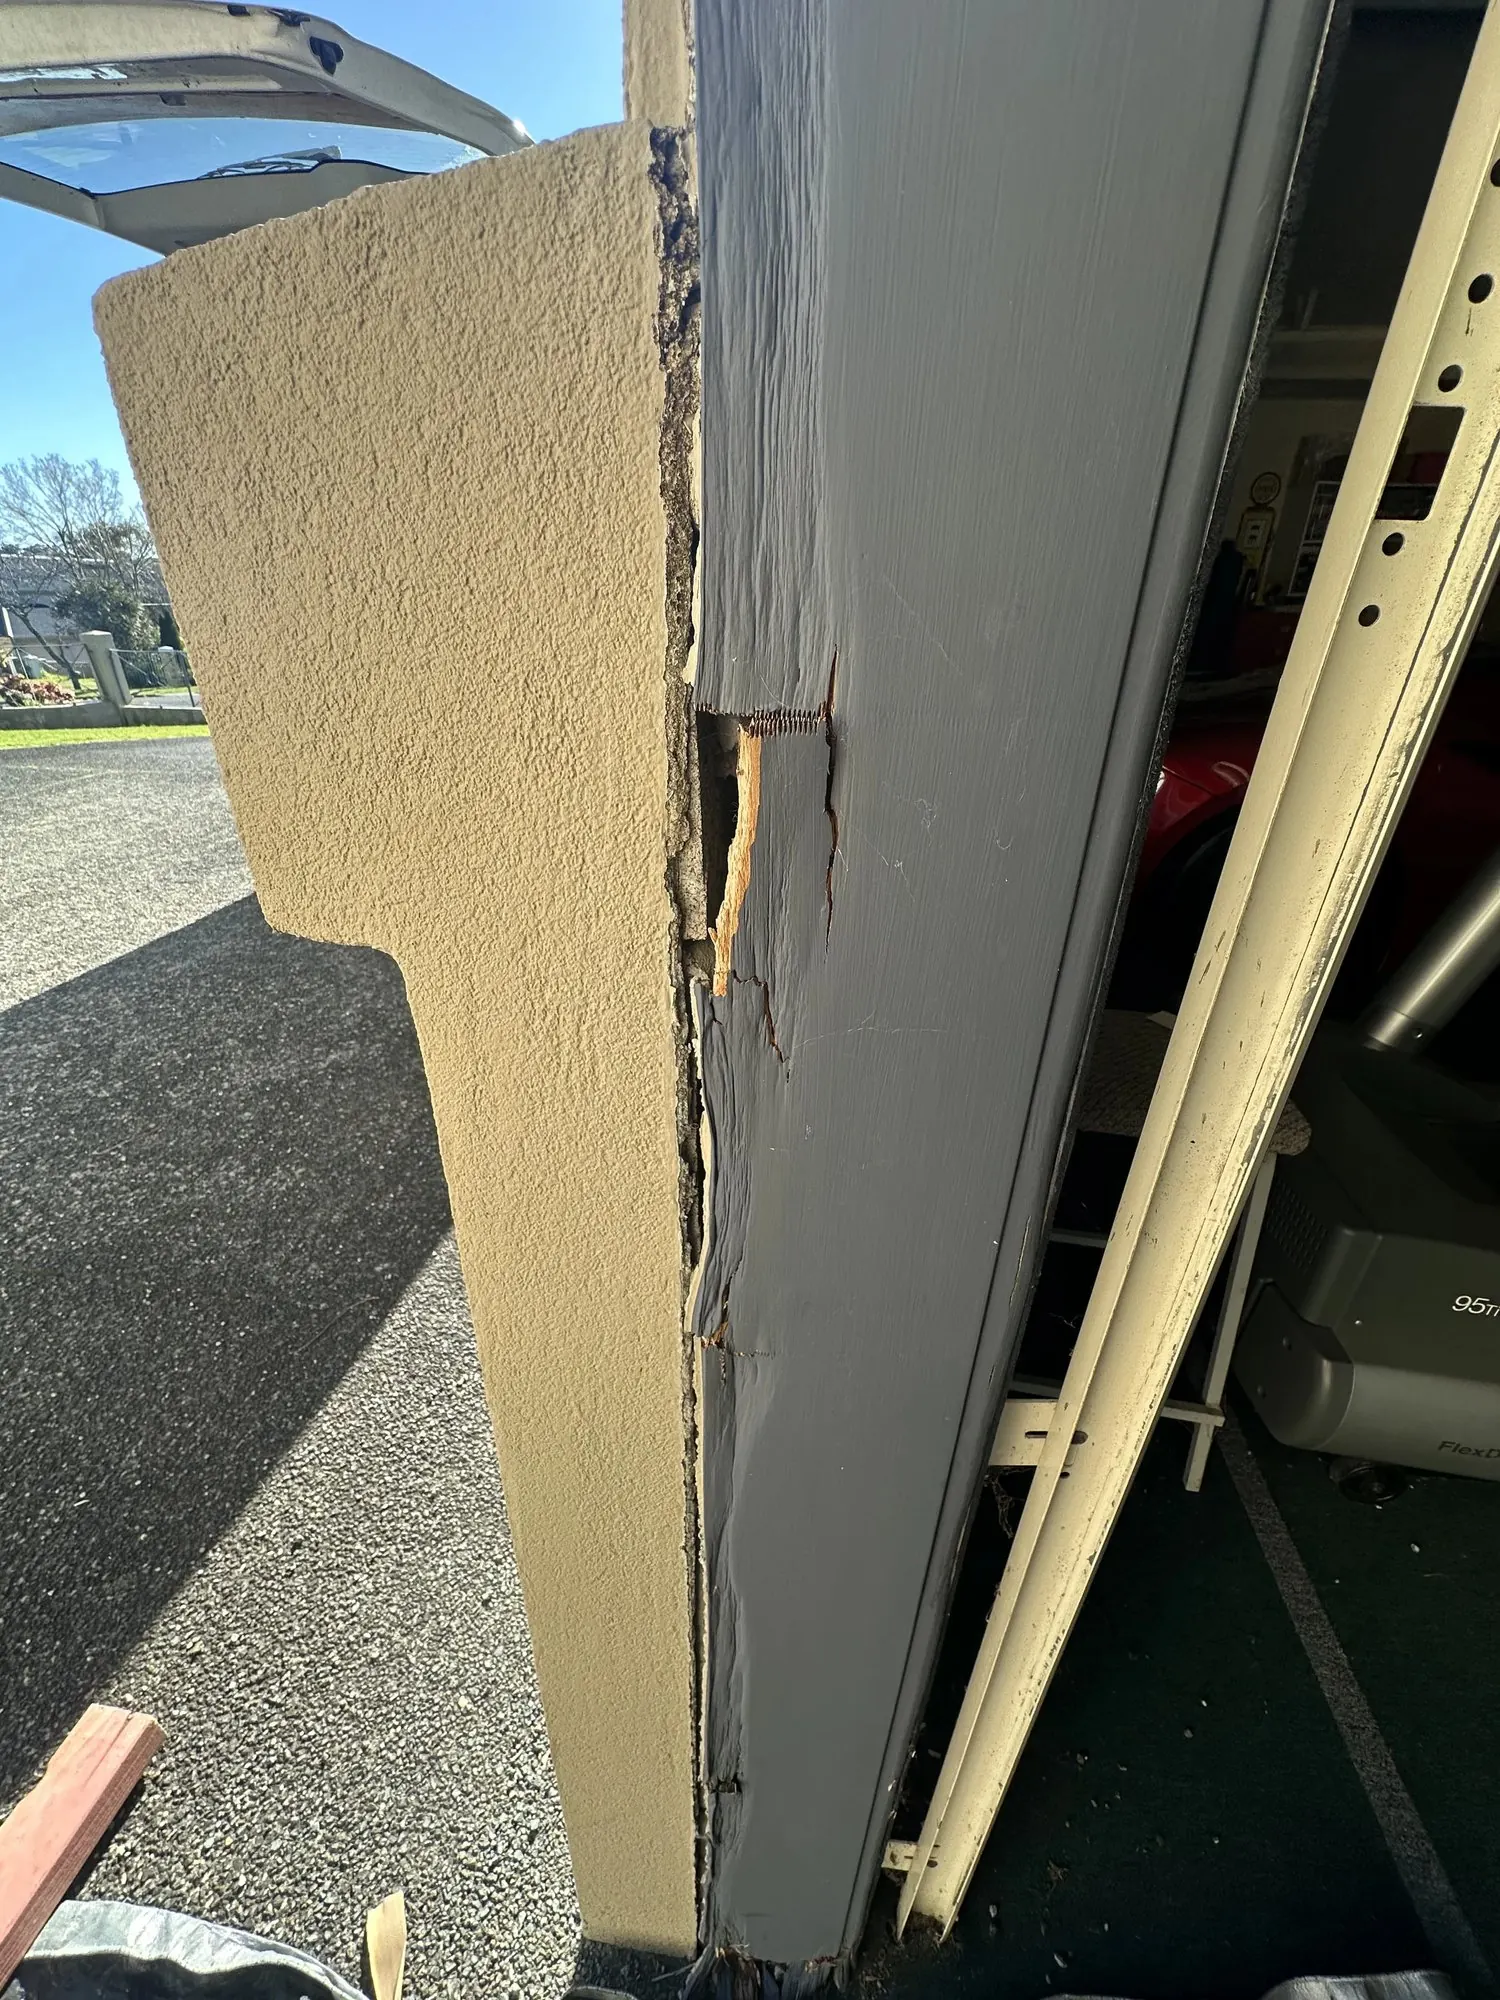 Damage Detail
Rot Through the Jamb
A close inspection revealed deep damage and a hole through the side timber.
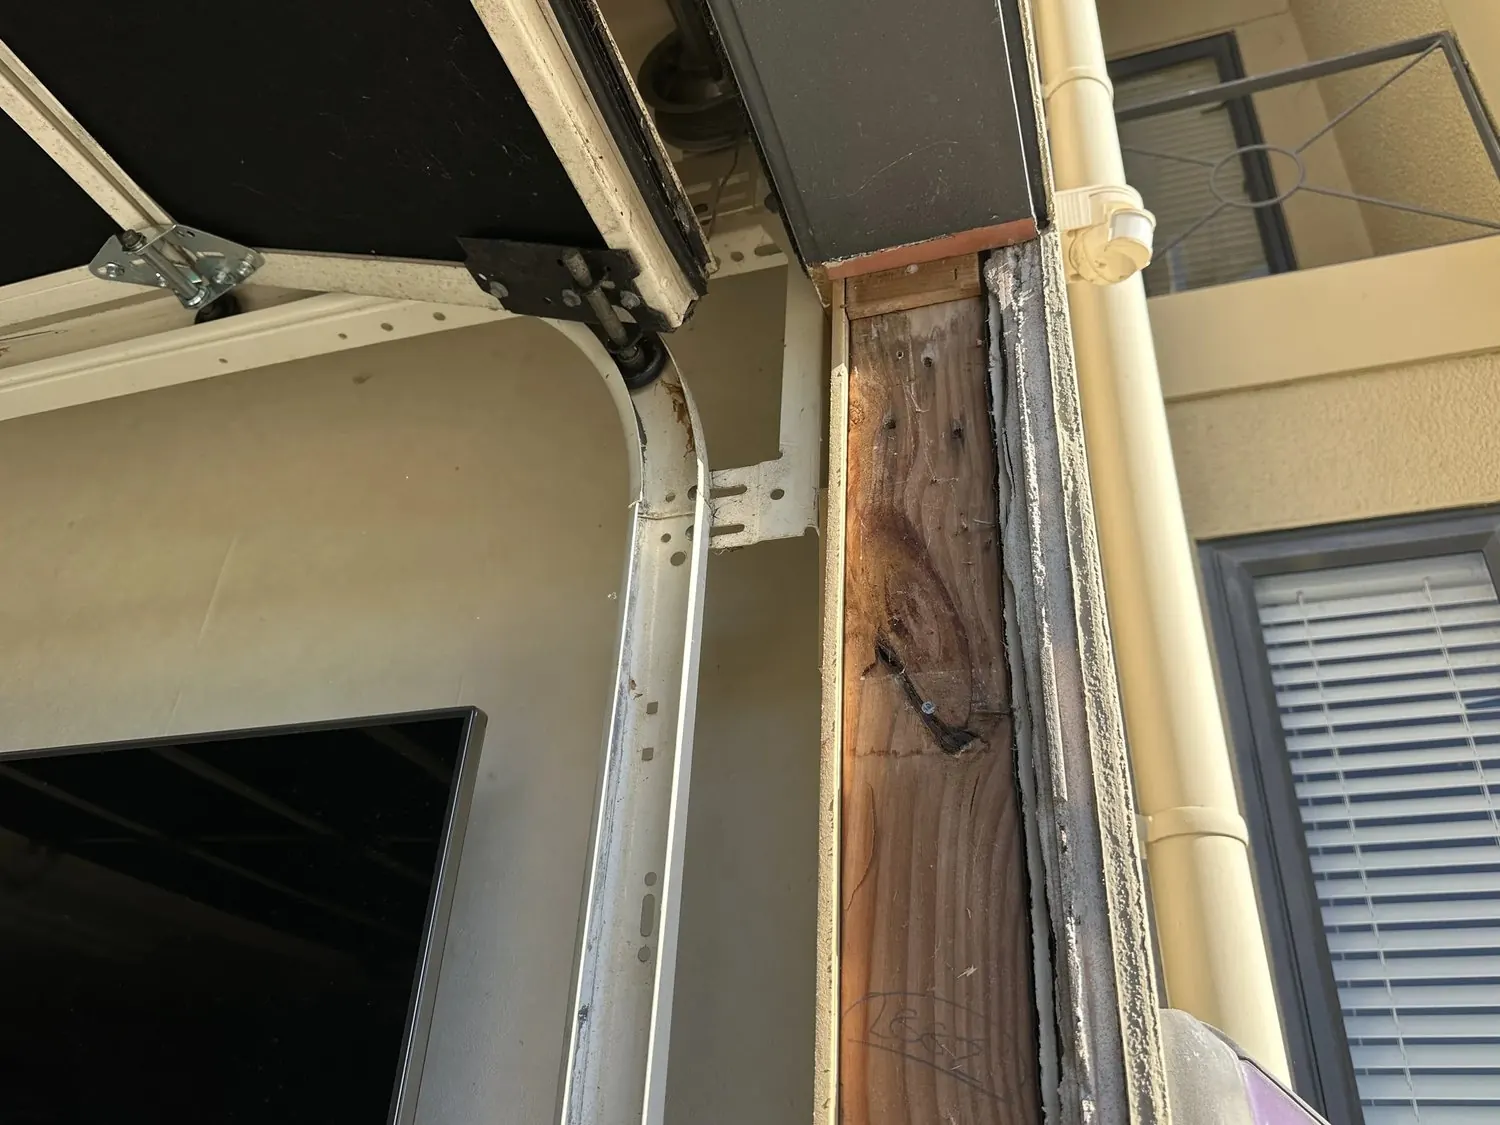 Hidden Issue
Unprotected Framing
After removal, the underlying timber was found without flashing tape or window-wrap protection.
The Repair Needed More Than New Trim
The existing materials were removed carefully so the internal drywall, exterior finish and garage door mechanism remained undamaged.
Moisture Damage
MDF architraves touching concrete had absorbed water, swollen and begun to rot.
Exposed Timber
The framing behind the jamb had no flashing tape and remained vulnerable to future decay.
Custom Fit Required
Replacement jamb faces and plywood architraves had to match the existing thickness and door clearances.
Protected, Fabricated and Installed Properly
The work was scheduled for a dry, sunny day so the open garage remained protected throughout the repair.
Careful Removal
The garage door fixing was loosened from inside, allowing the rotten jamb faces and architraves to be removed without damaging surrounding surfaces.
Moisture Protection
New adhesive flashing tape was applied to the exposed timber framing before any replacement material was installed.
Custom Fabrication
Plywood architraves were ripped from a full sheet to the correct width and thickness, sanded and fitted beneath the loosened garage door brackets.
Installation and Finishing
Cut ends were primed, the jamb faces and architraves were fixed in place, nails were punched and sanded, and the exterior joints were sealed.
From Protected Framing to Final Fit
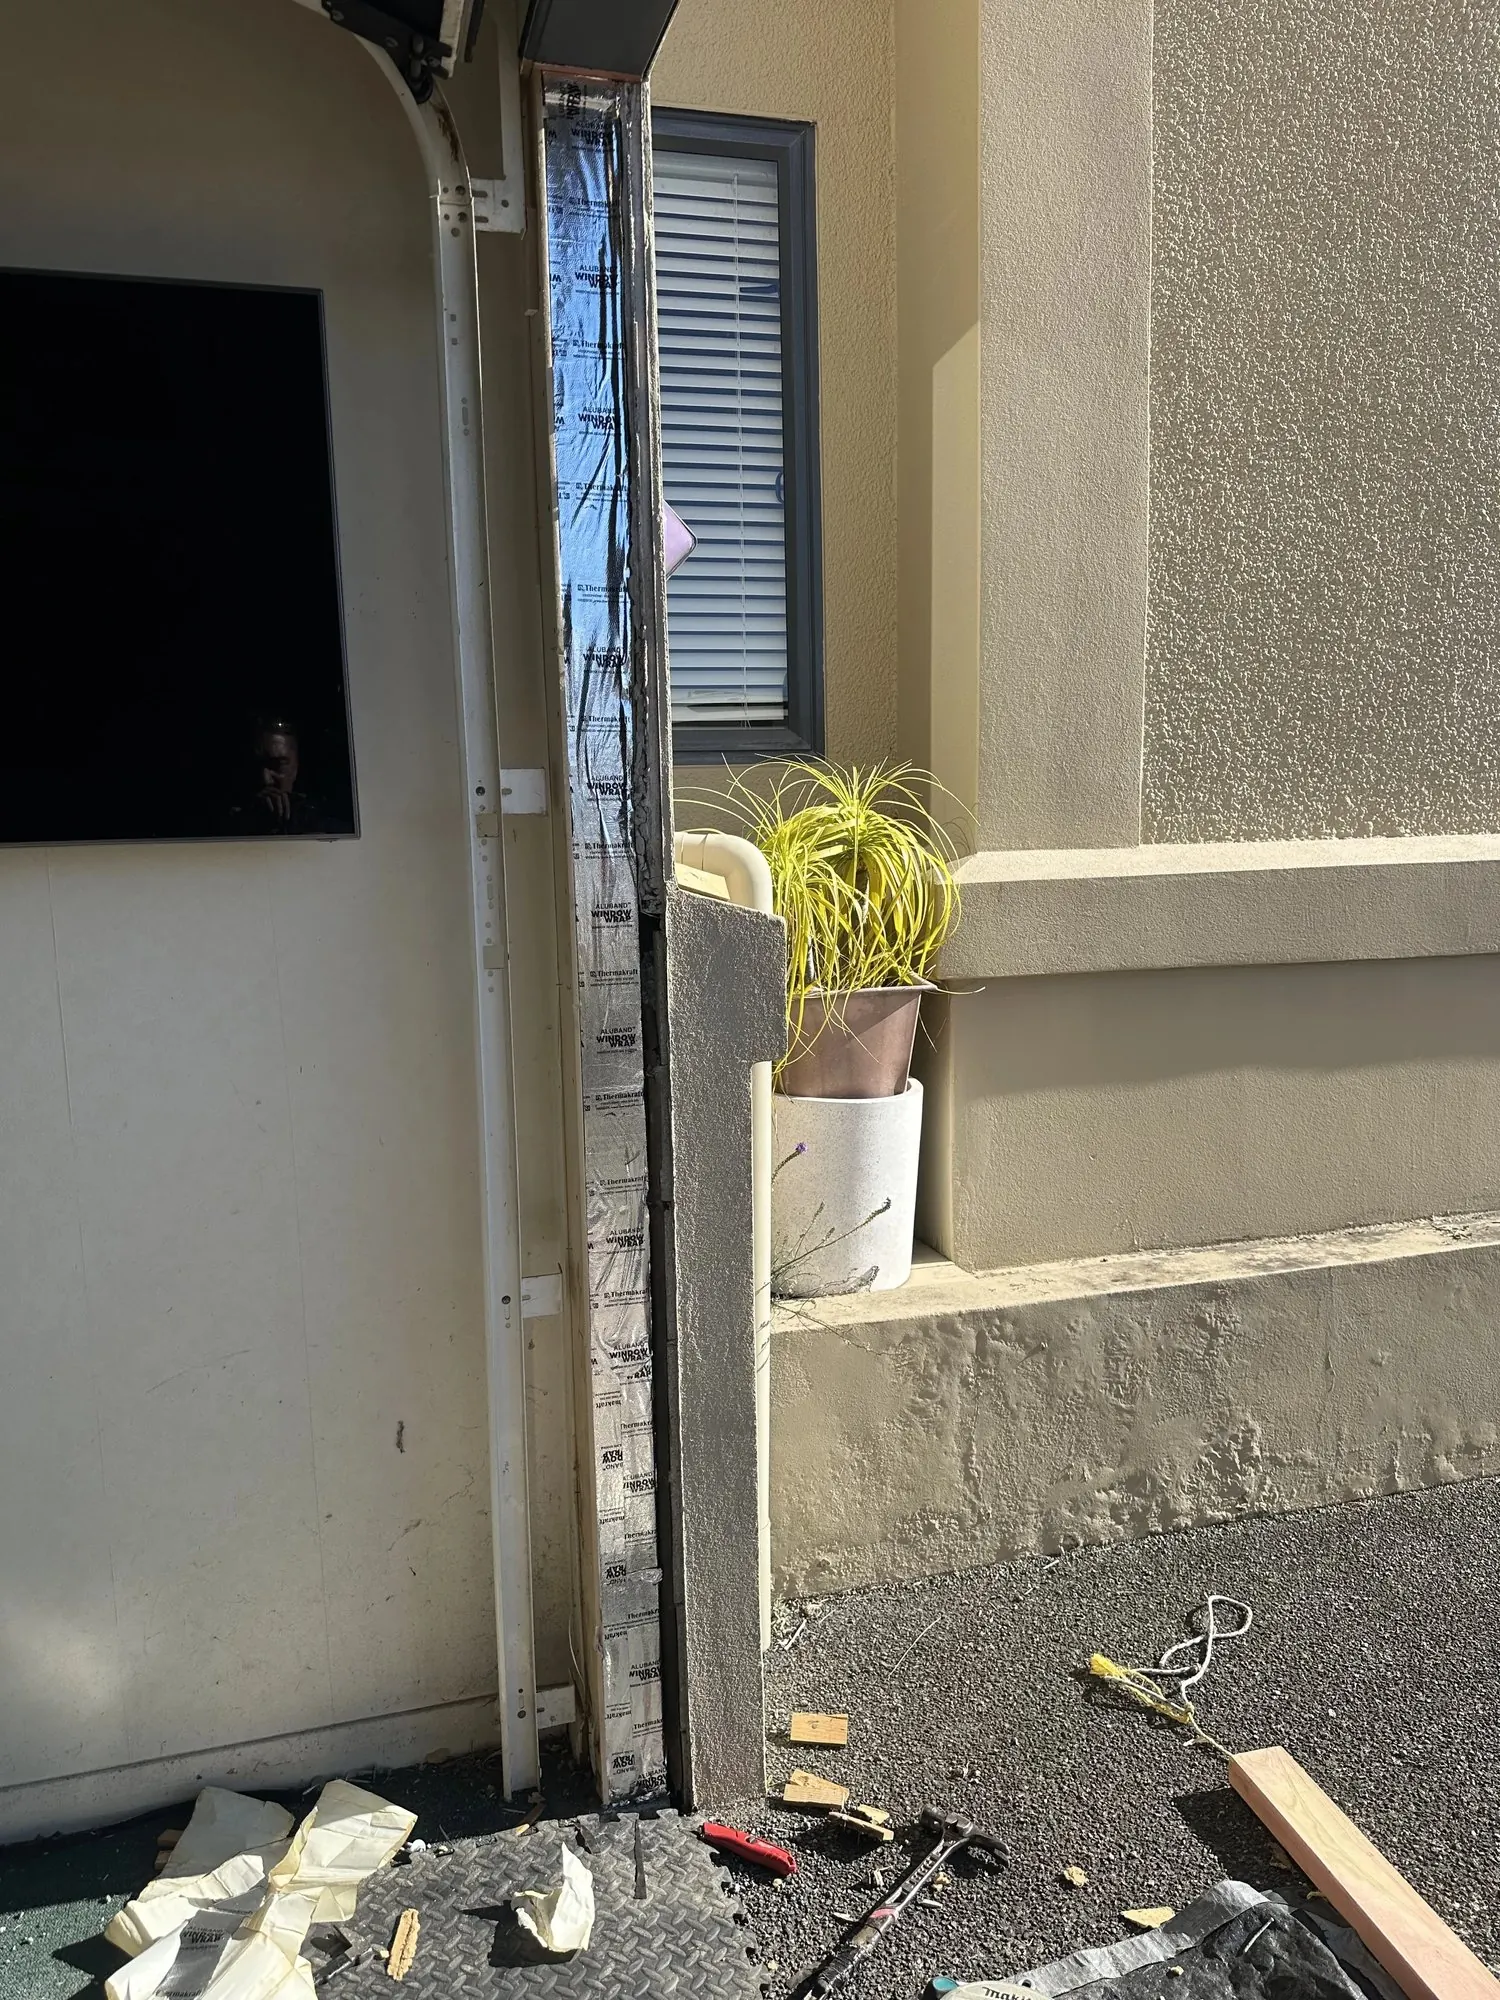 Protected
Flashing Tape Applied
The previously exposed framing was wrapped to reduce the risk of future moisture damage.
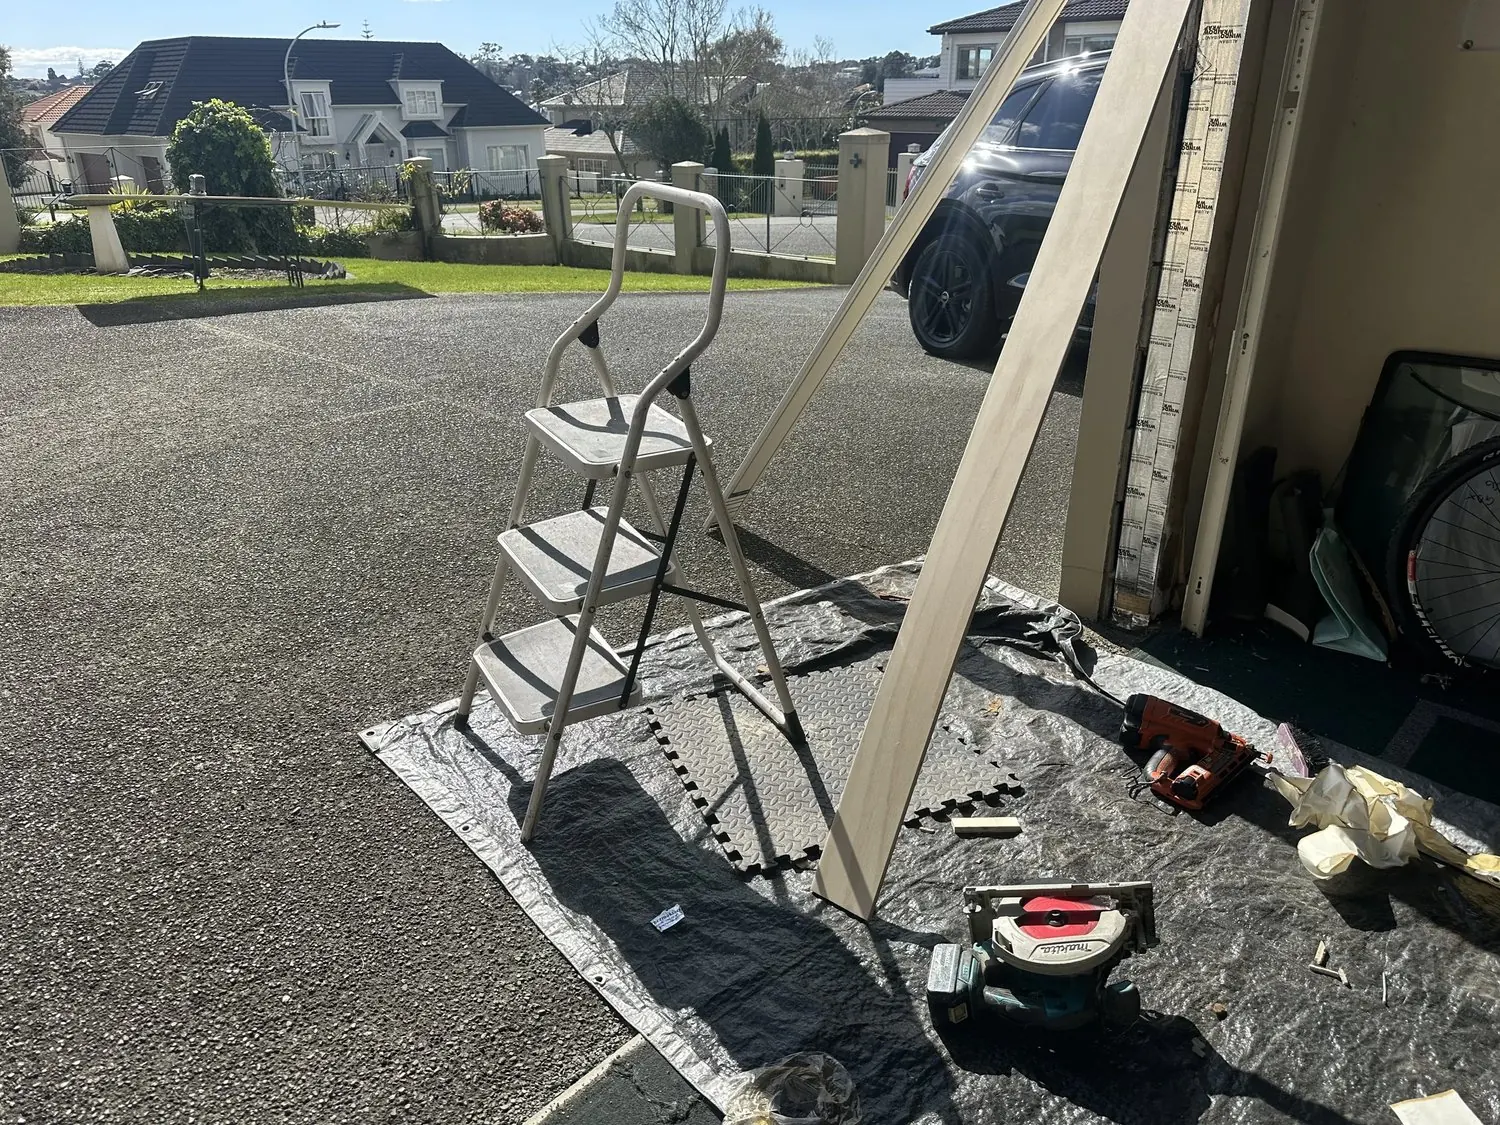 Prepared
New Components Cut
Replacement jamb faces and plywood architraves were measured, cut, sanded and prepared.
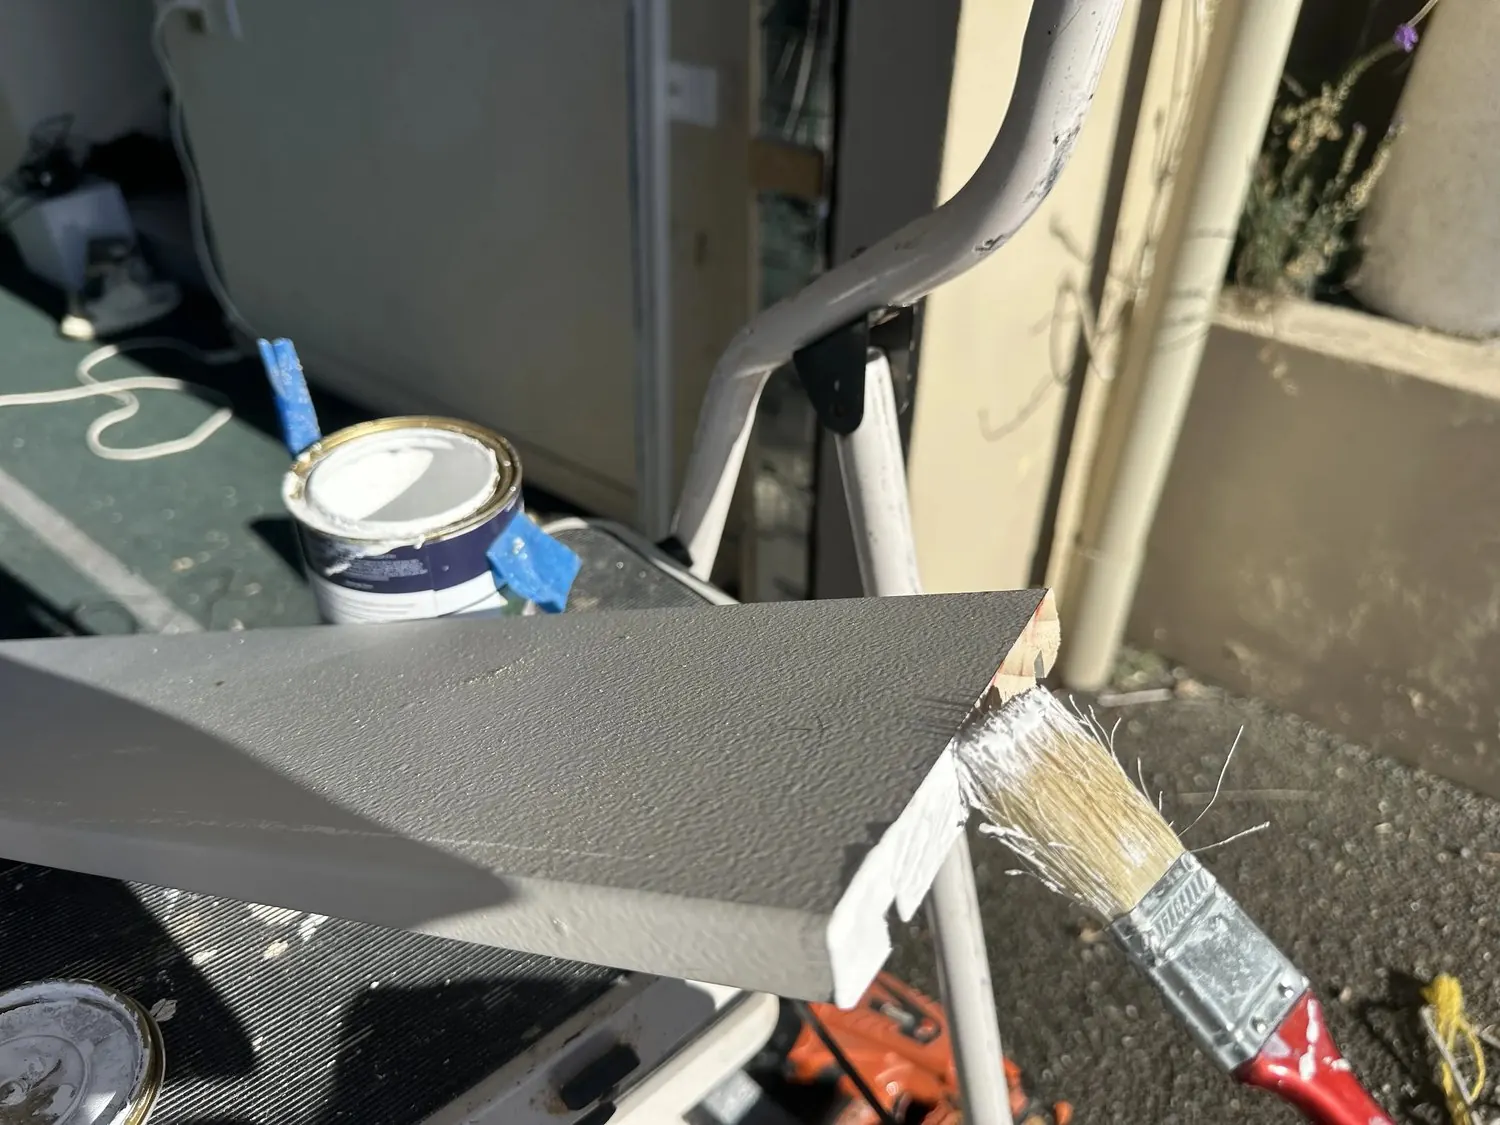 Primed
Cut Ends Sealed
Primer was applied to the end grain to limit moisture absorption at vulnerable cuts.
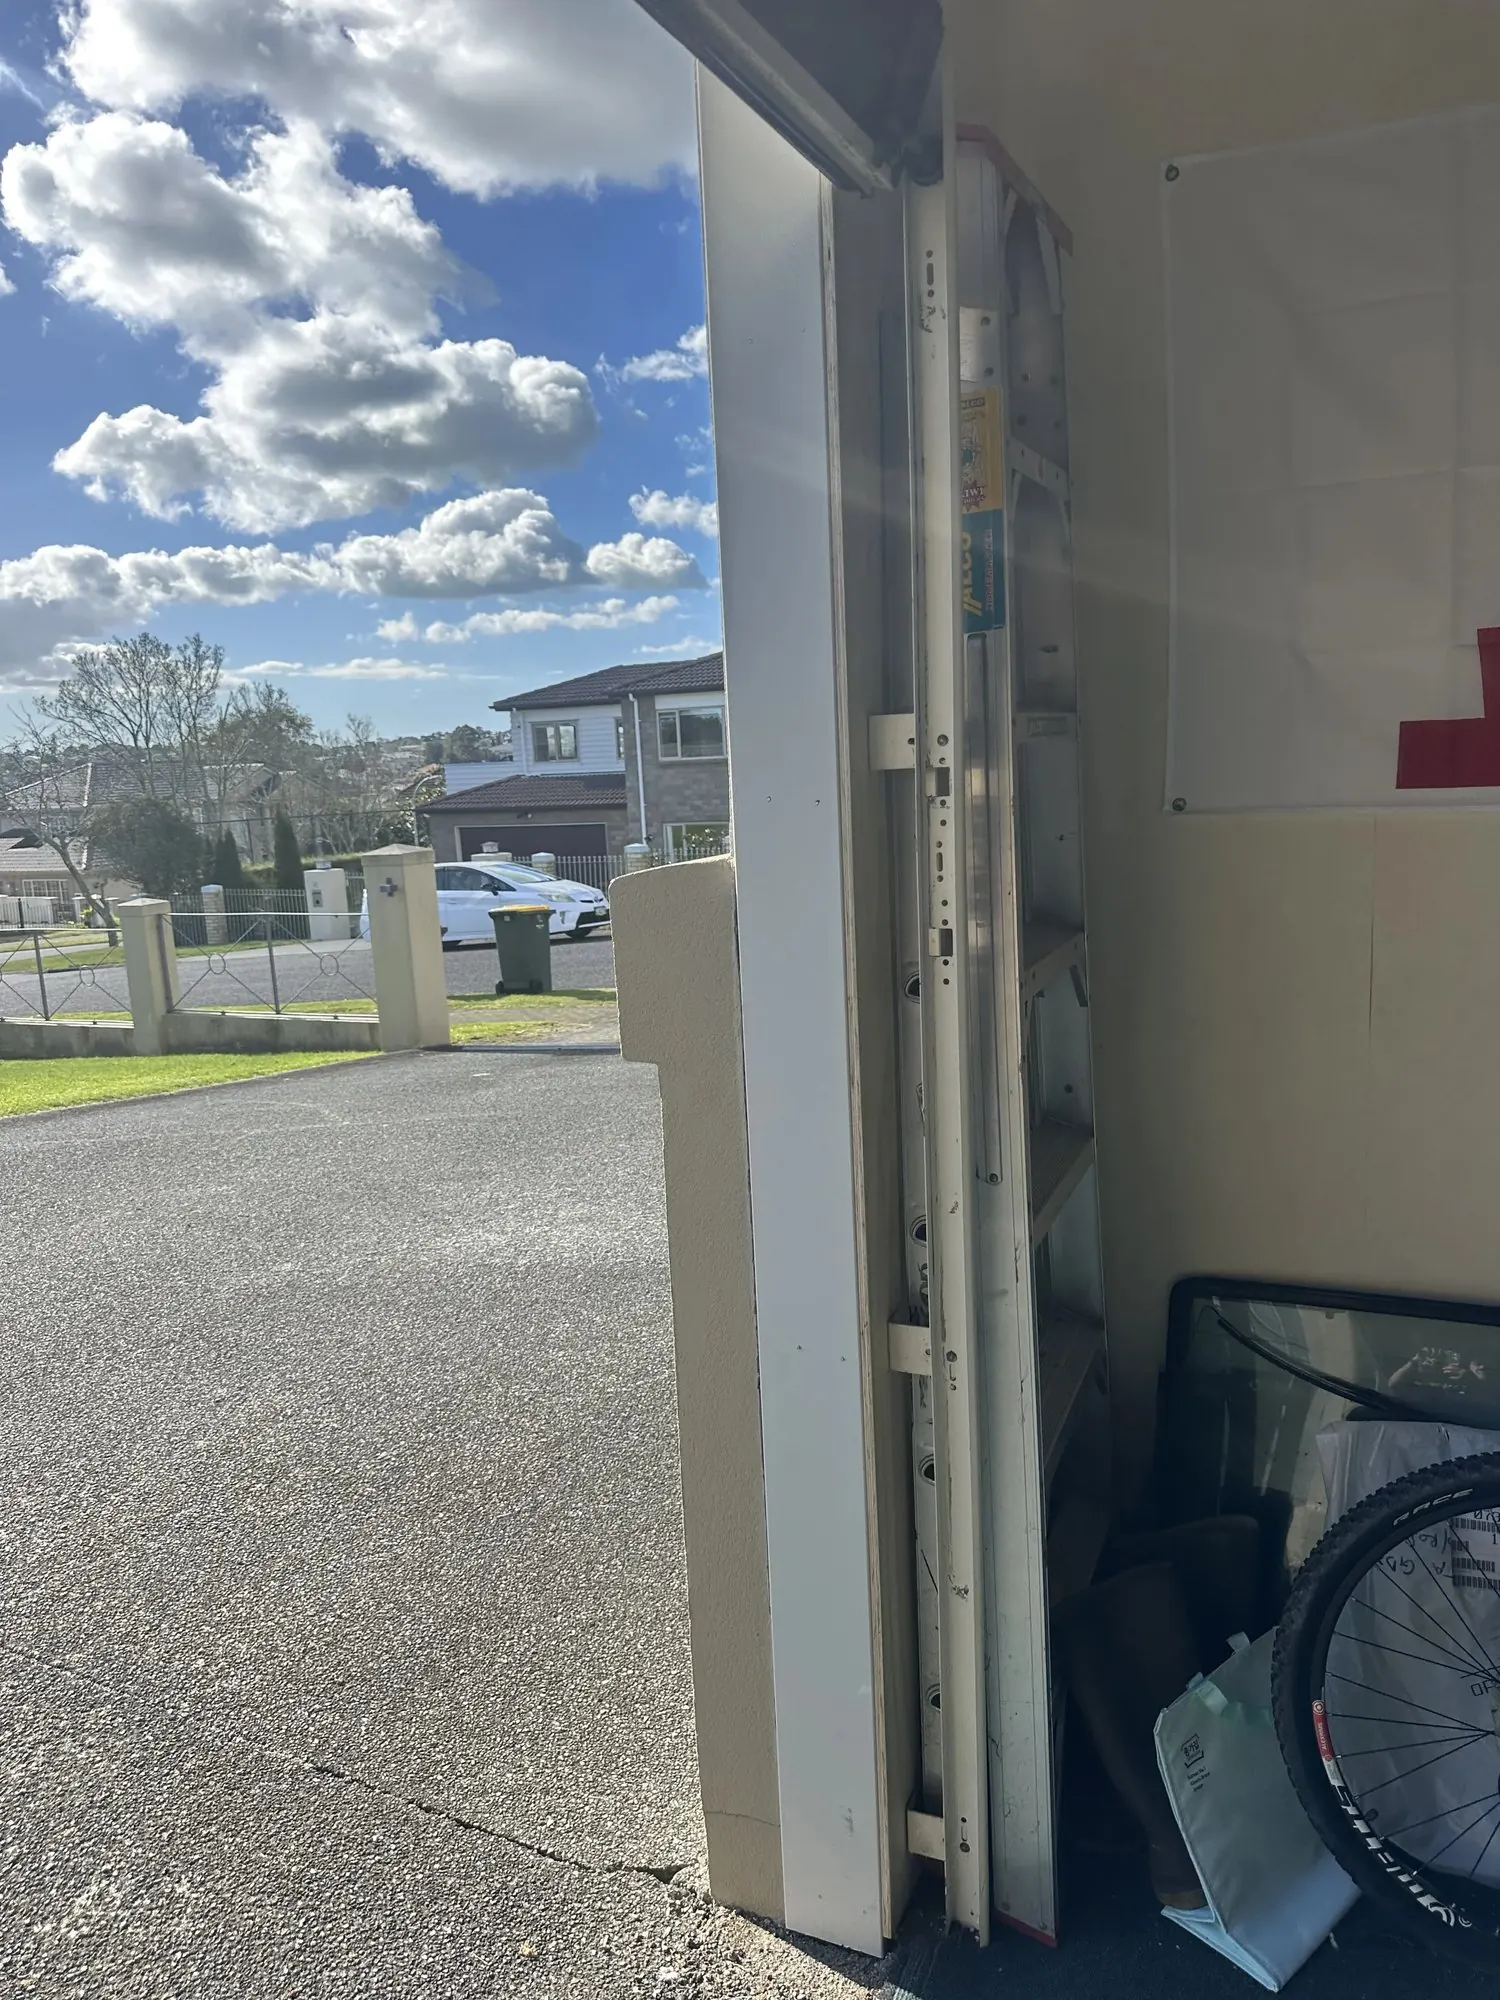 Installed
Perfectly Fitted
The new materials were installed neatly and aligned with the existing garage opening.
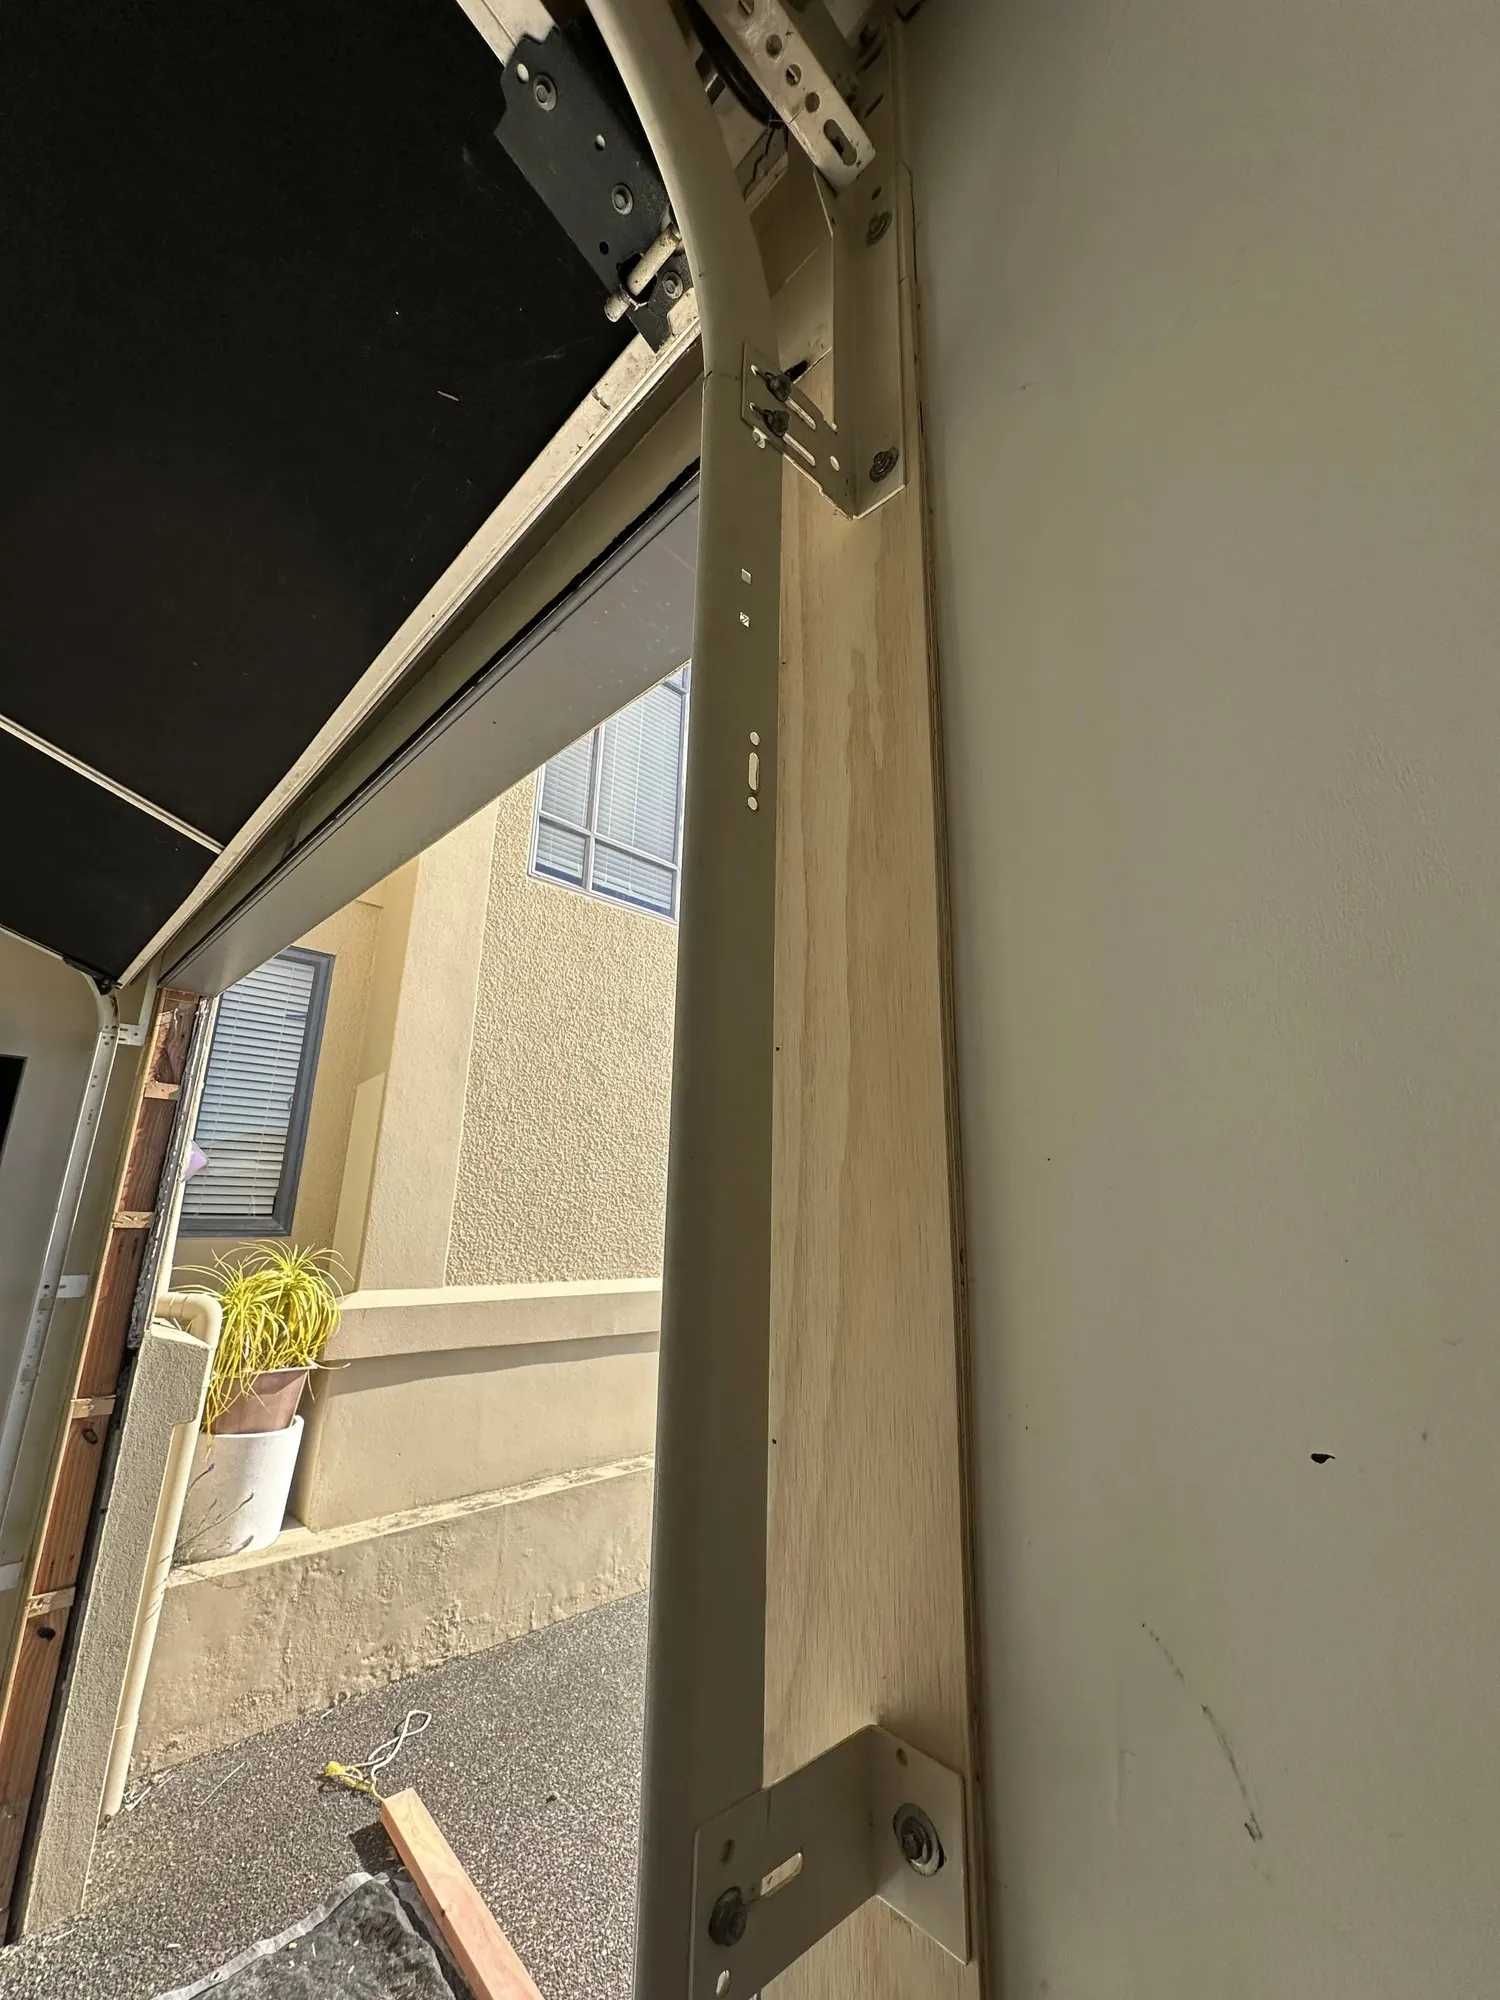
 Refitted
Door Bracket Secured
The internal garage door fixing was tightened back into its correct position.
 Checked
Operation Checked
The garage door was tested to confirm correct movement, fit and clearance.
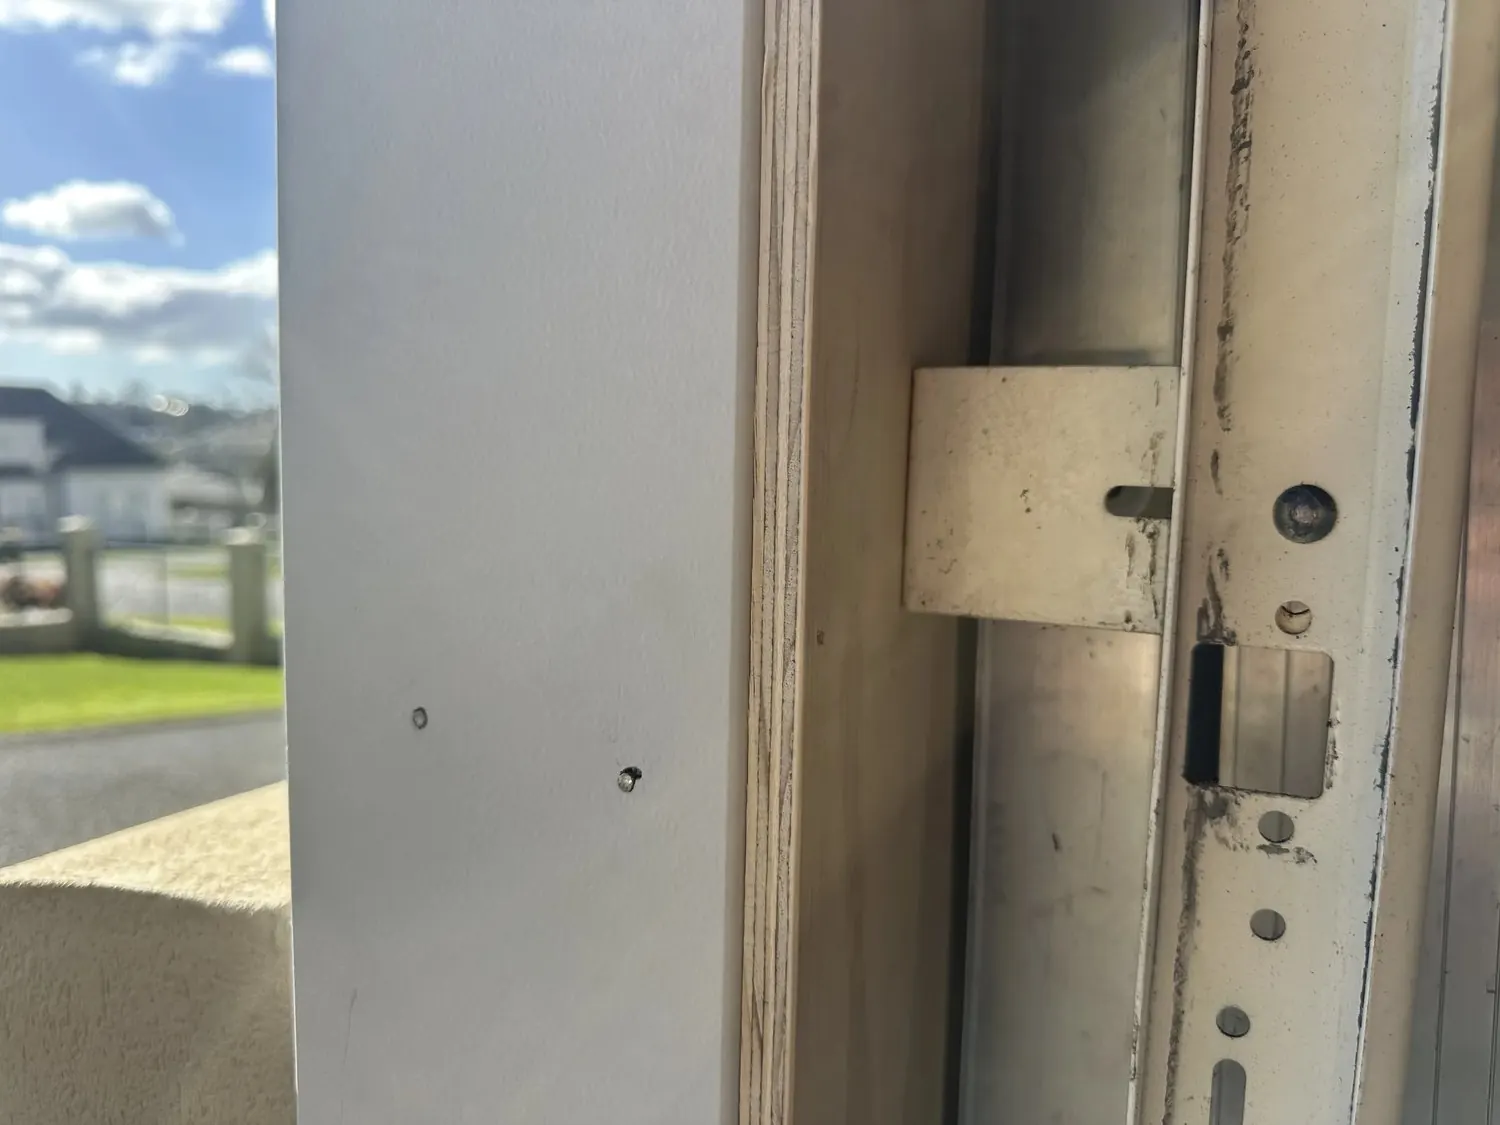
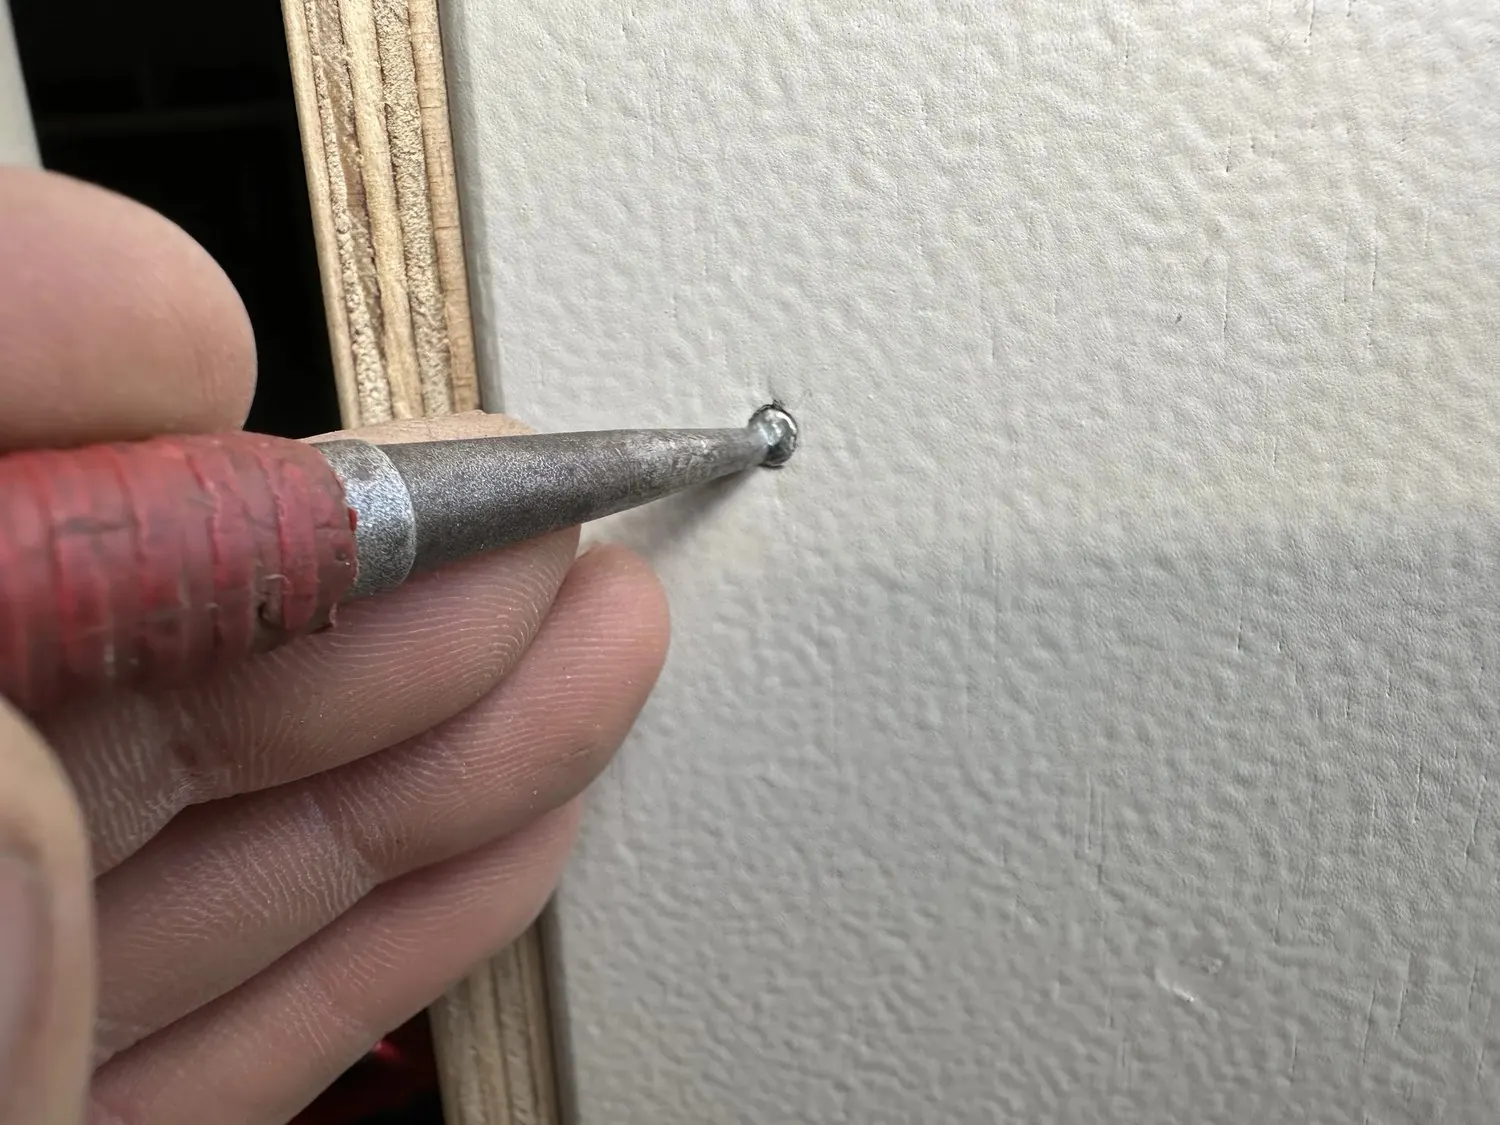 Finished
Nails Punched
Fixings were recessed and the surface sanded smooth, leaving the new jamb ready for painting.
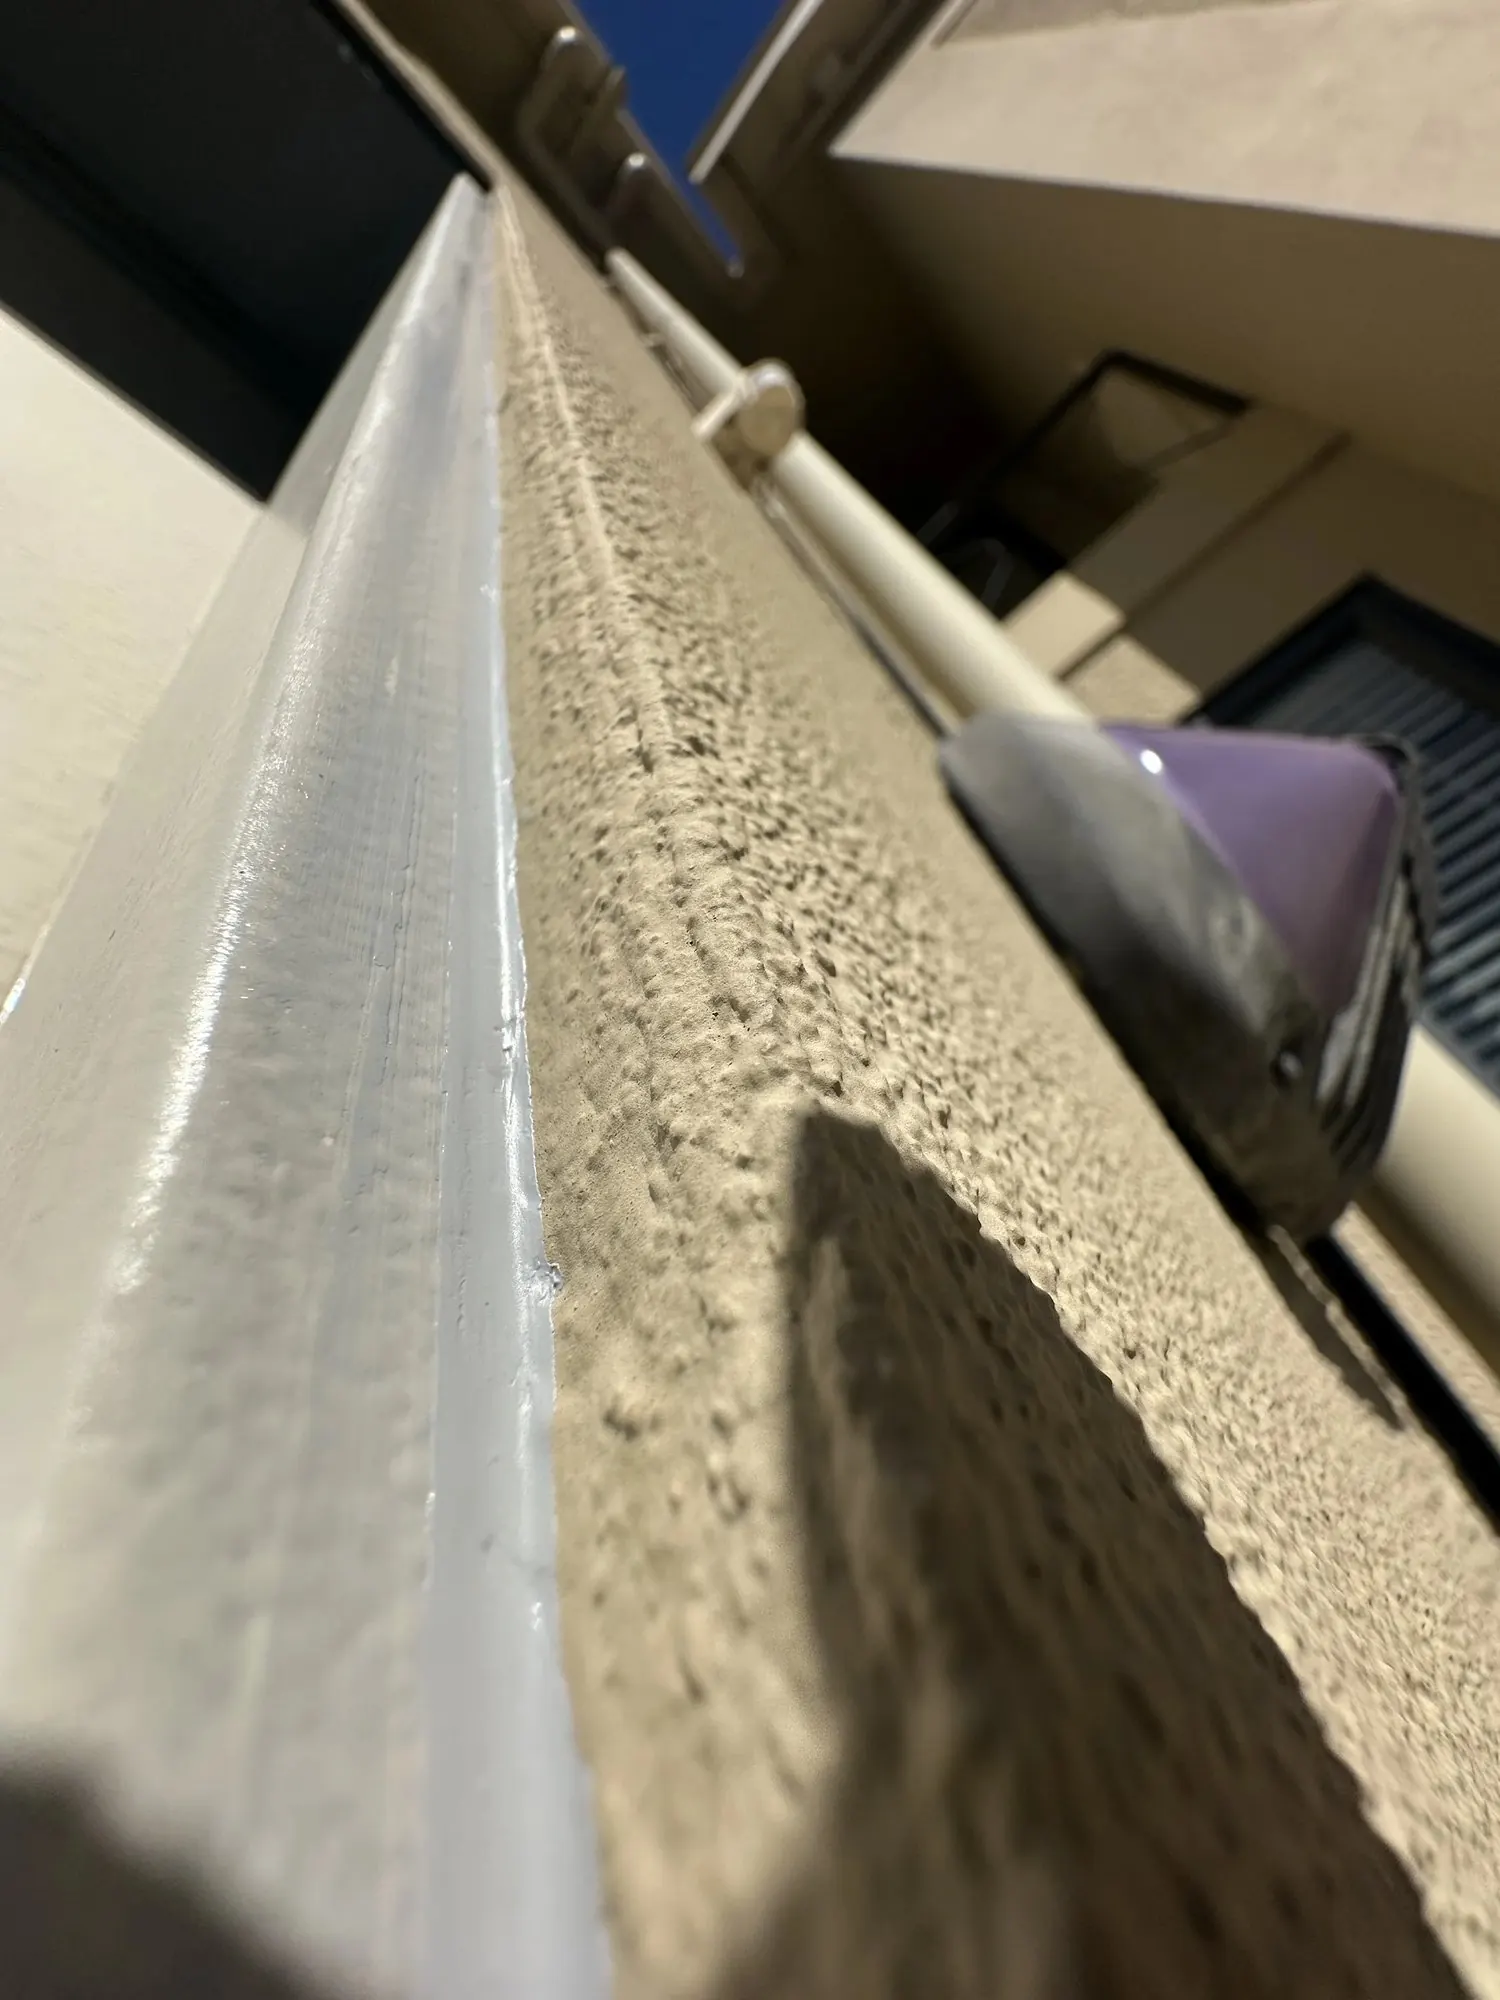 Sealed
Exterior Joint Sealed
The junction between the exterior wall finish and new jamb was sealed against moisture entry.
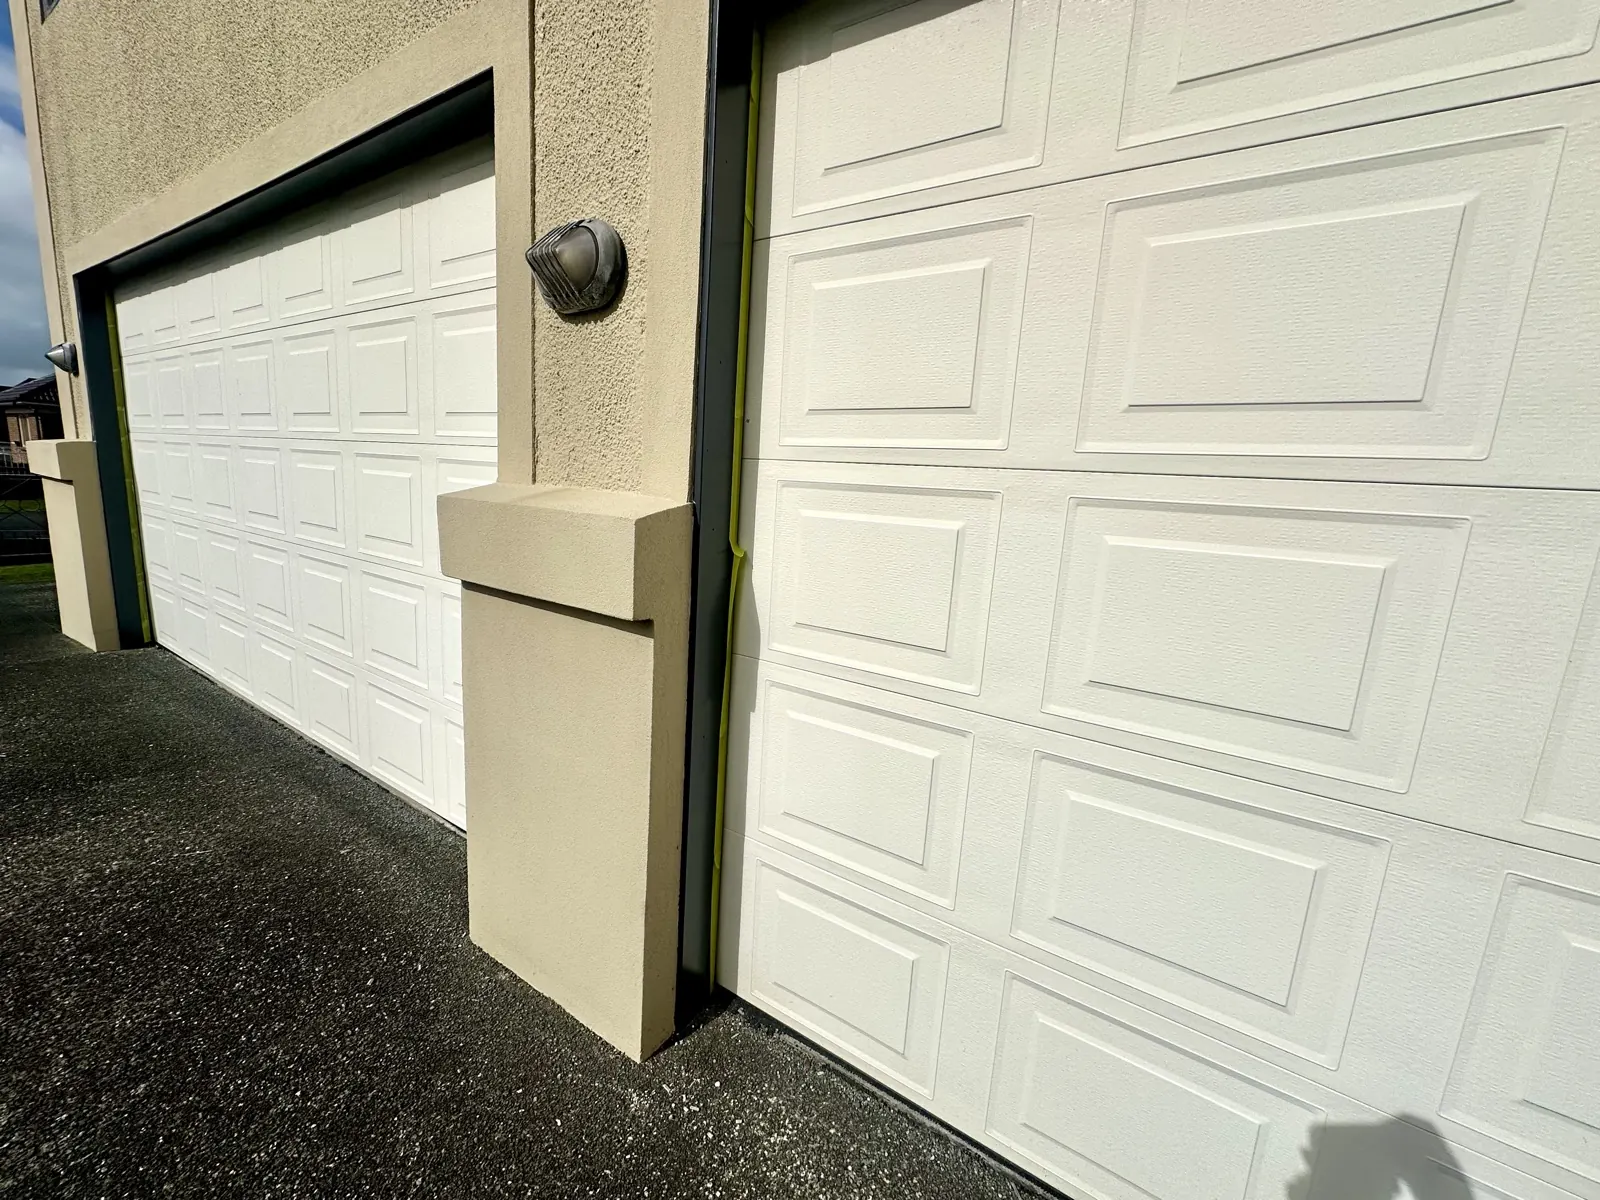
Secure, Moisture-Protected and Ready for Paint
The rotten jamb faces and swollen MDF architraves were replaced with accurately fitted timber and plywood components.
The hidden framing is now protected, the garage door mechanism has been refitted and checked, and all finishing work is complete.
Explore Related Handyman Services
Do You Have Rotten Timber Around a Door or Garage?
Send Handyman Botany a few photos of the affected area. We can assess the damage and recommend a practical repair.